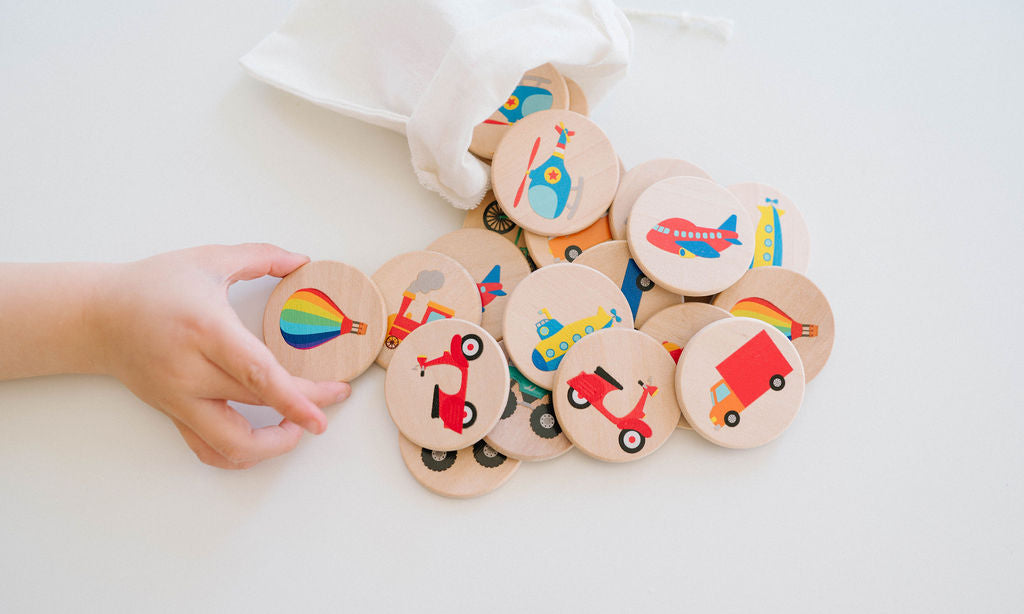
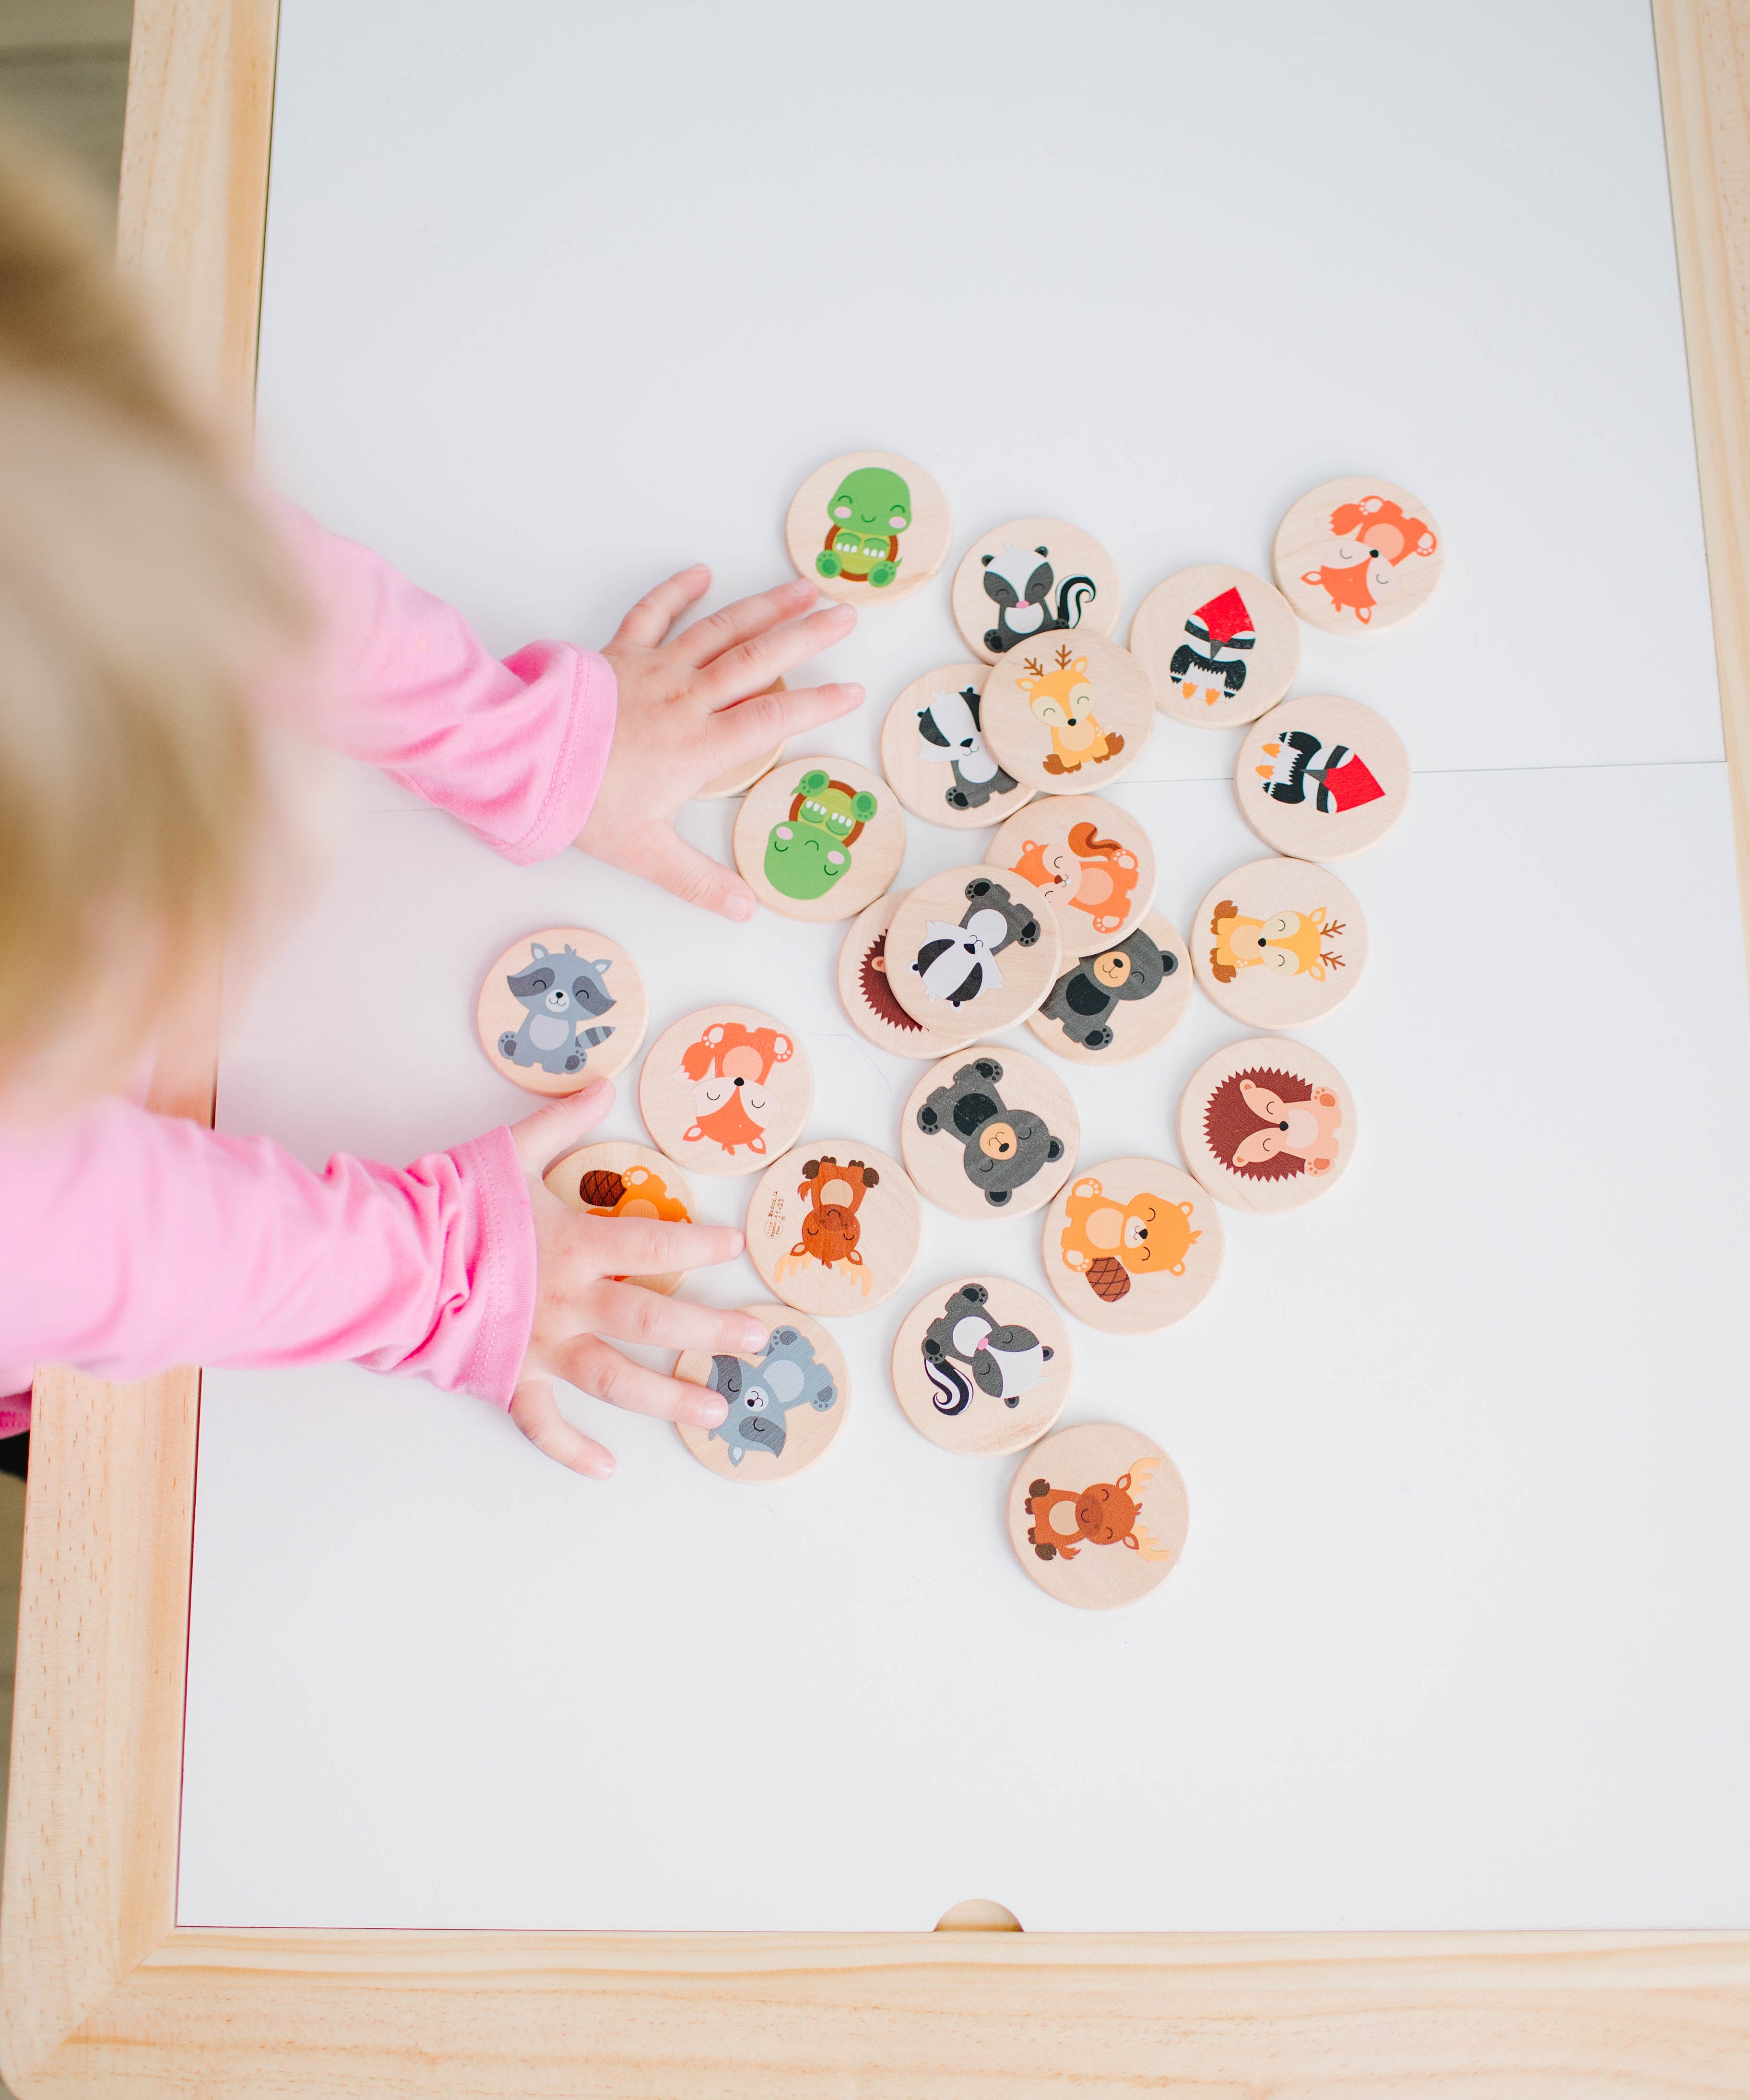
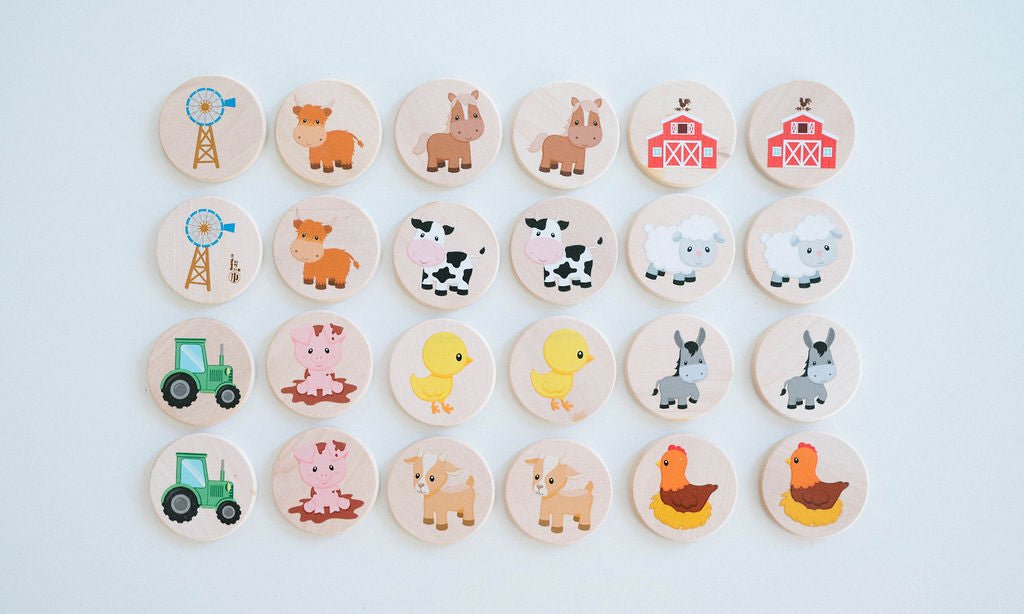
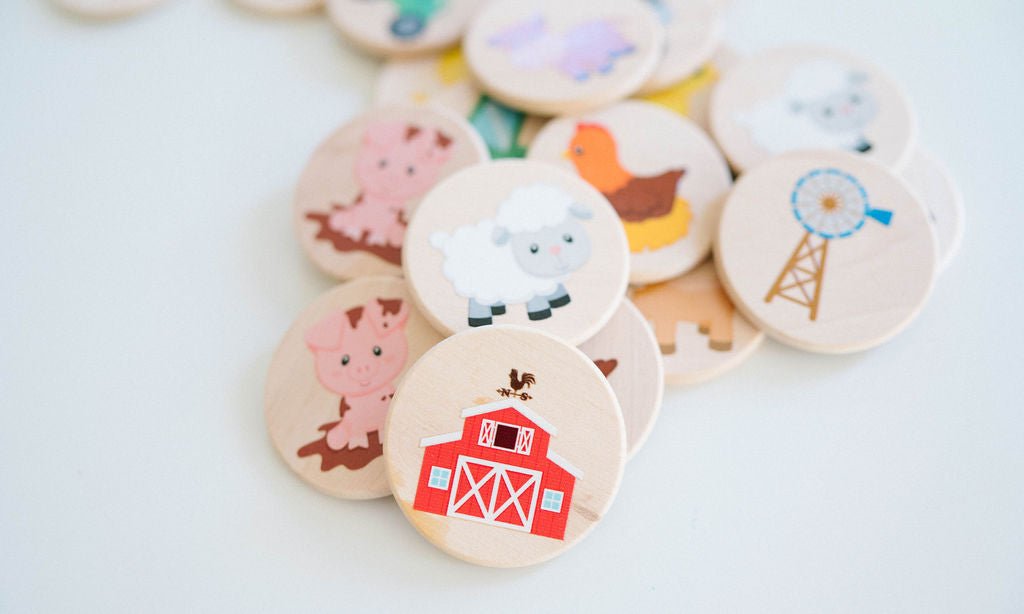
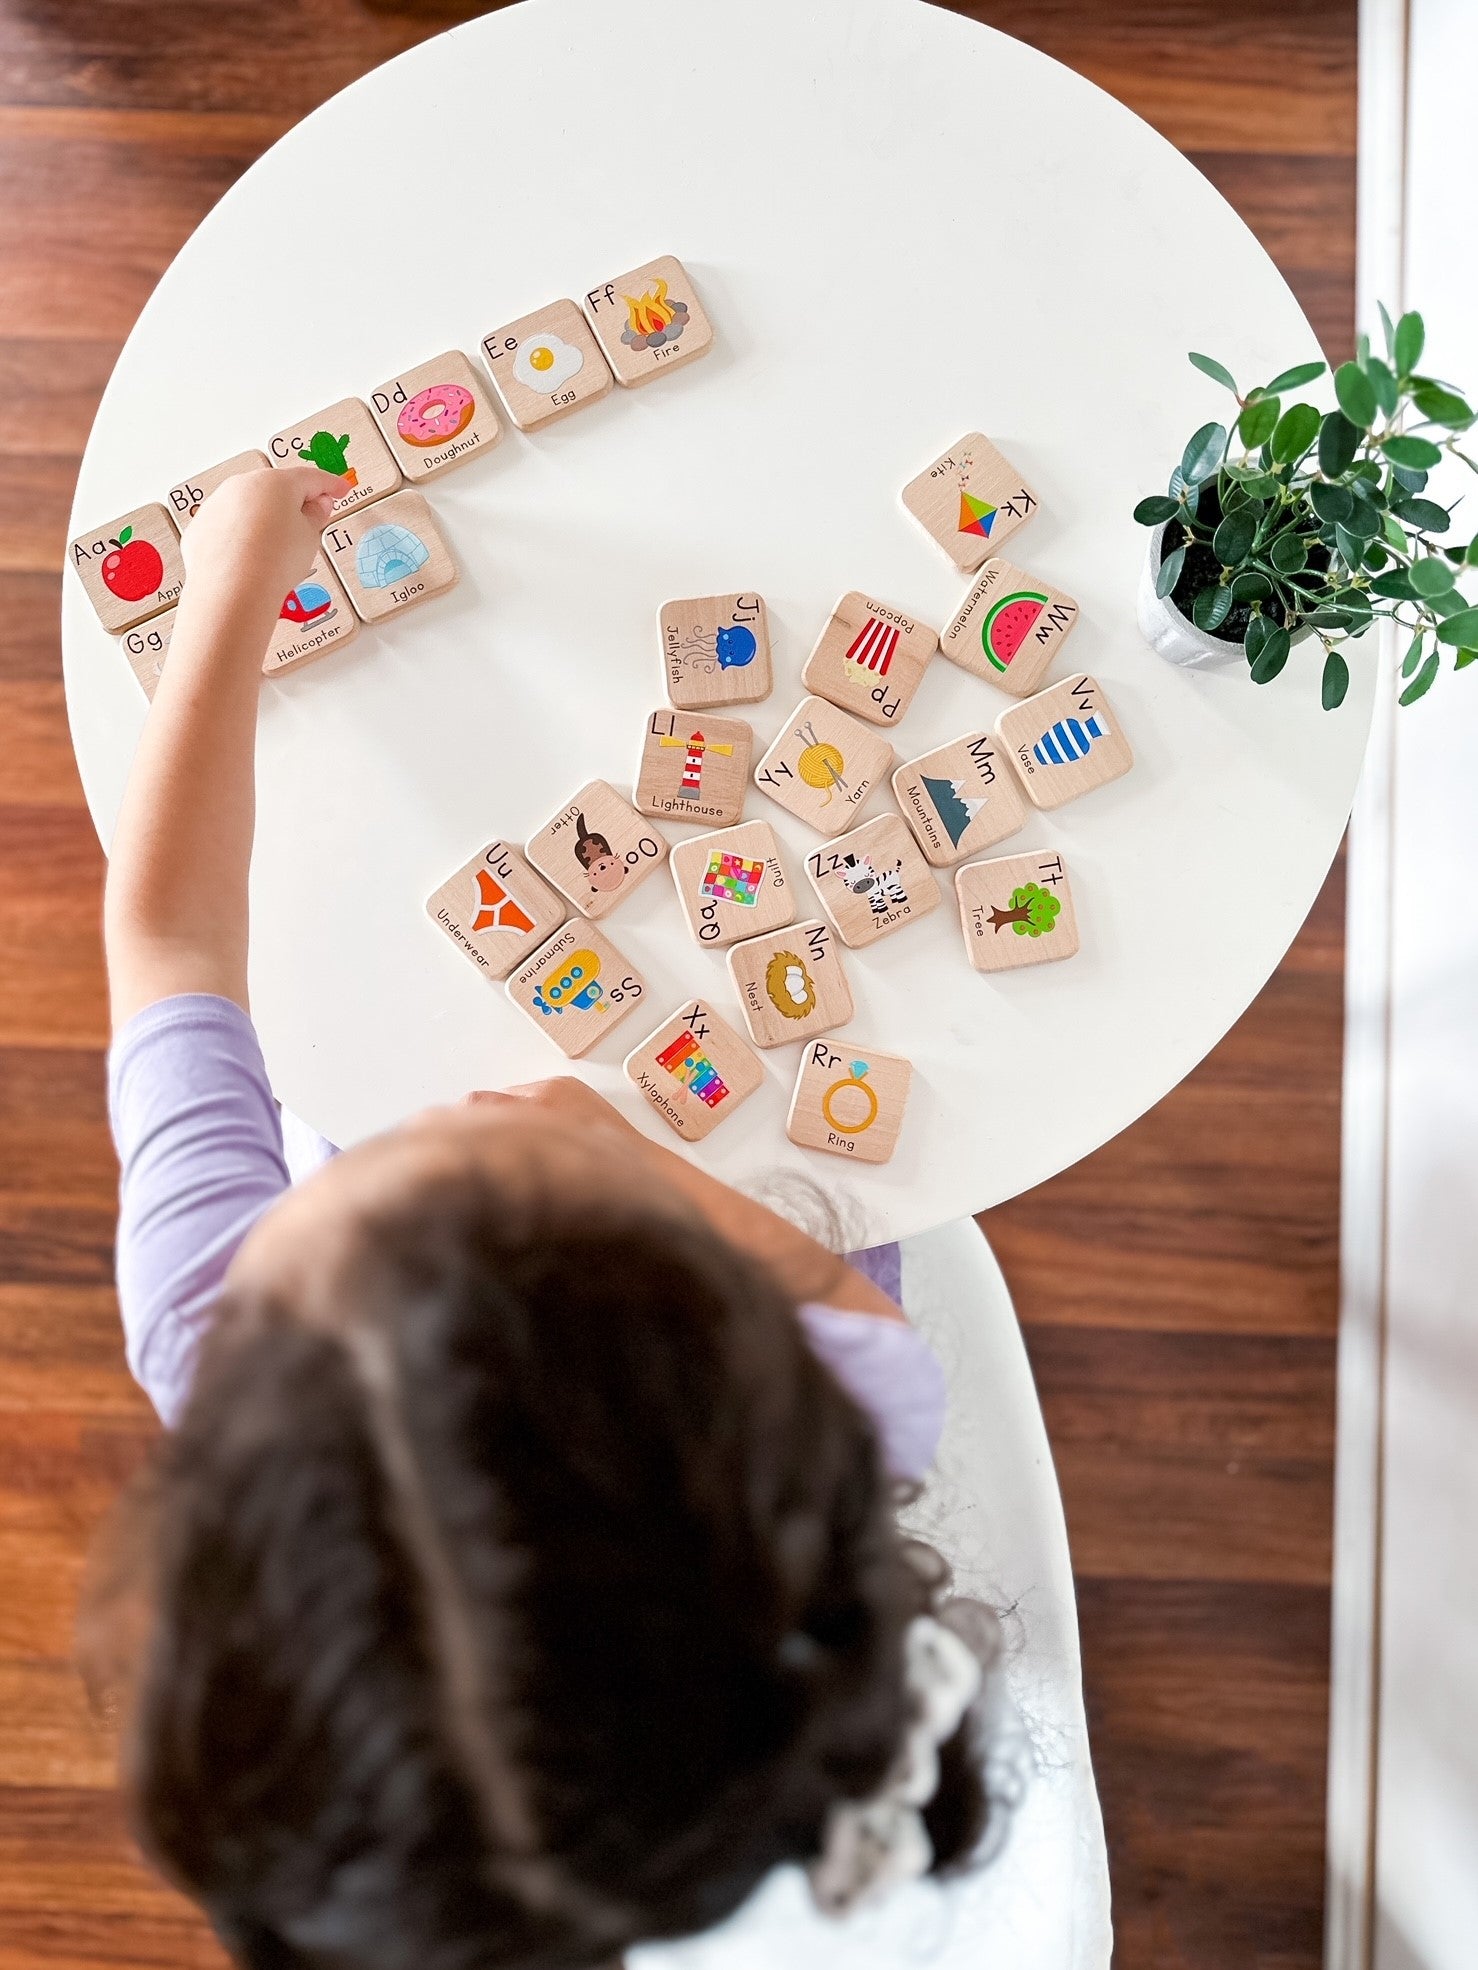
Boost Confidence,
critical thinking, attention span, memory, & more with our matching games.
Save $8 on bundles all April
No code needed
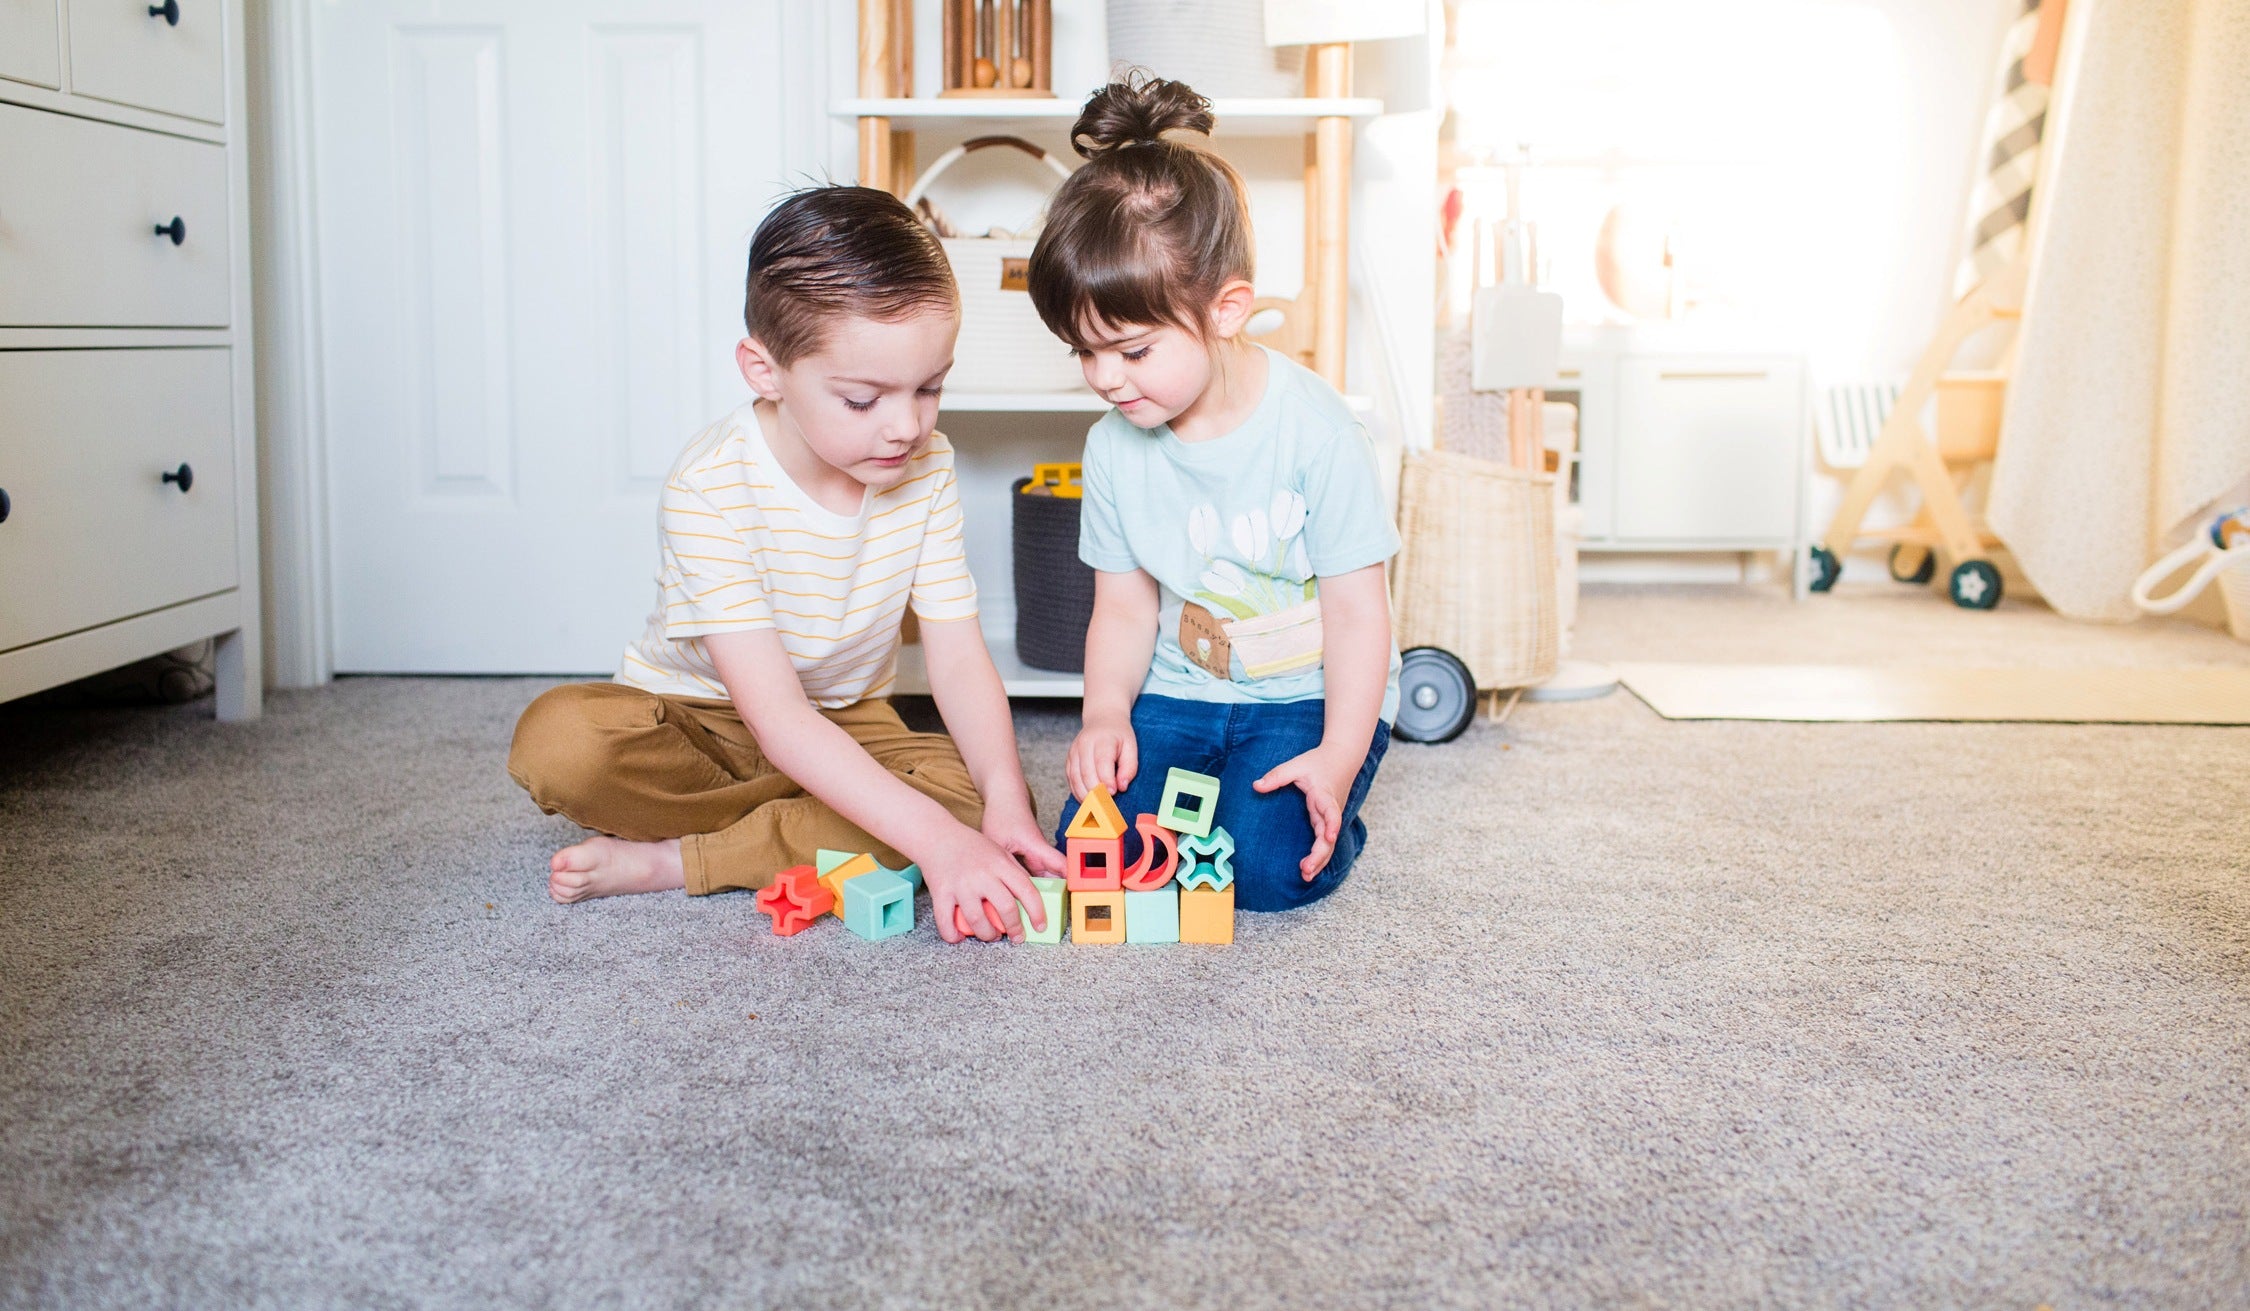
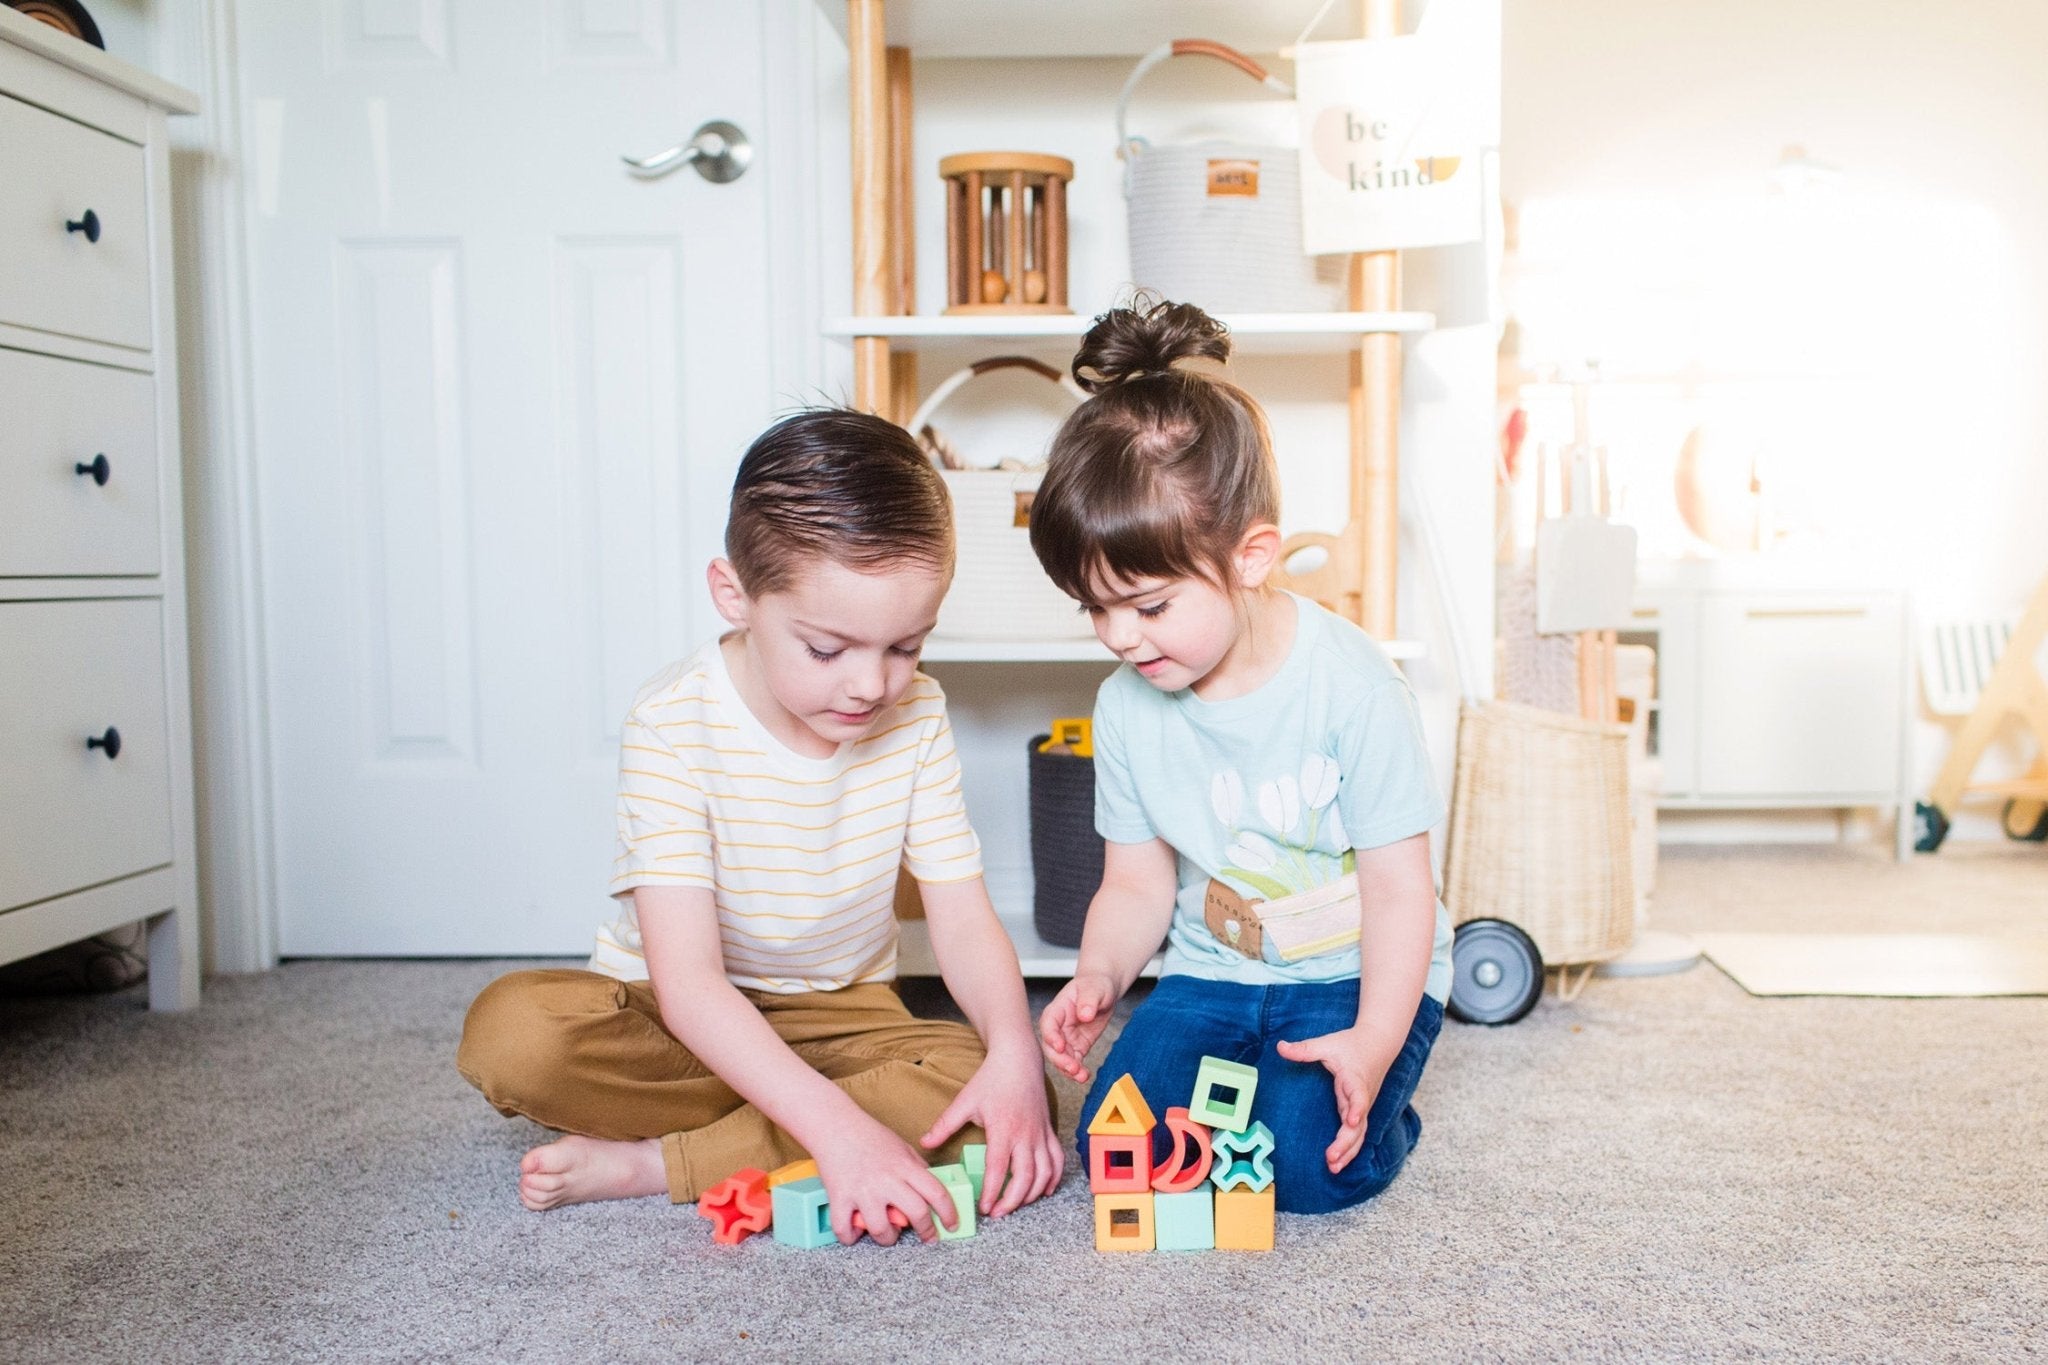
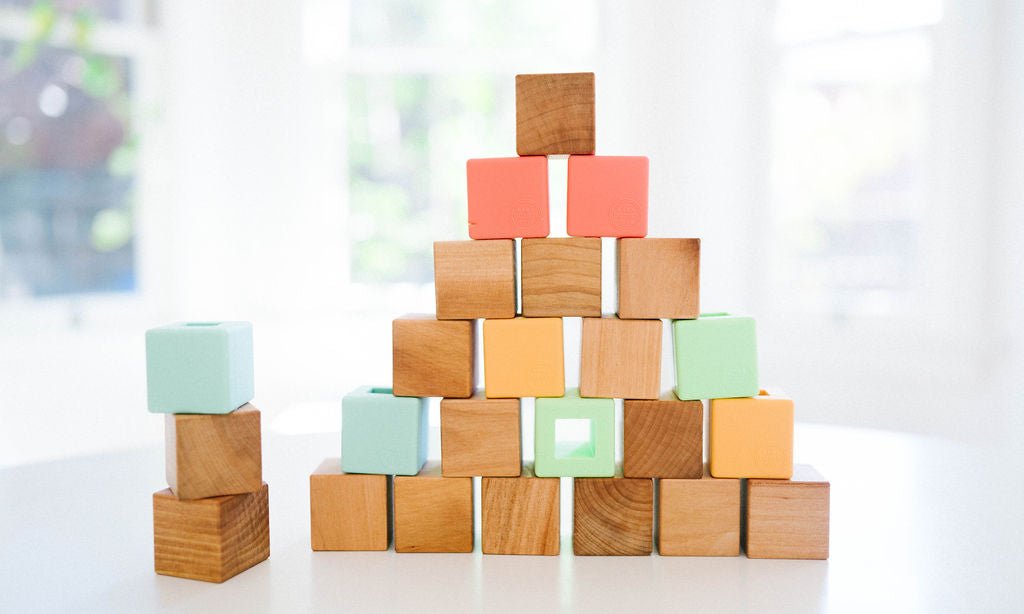
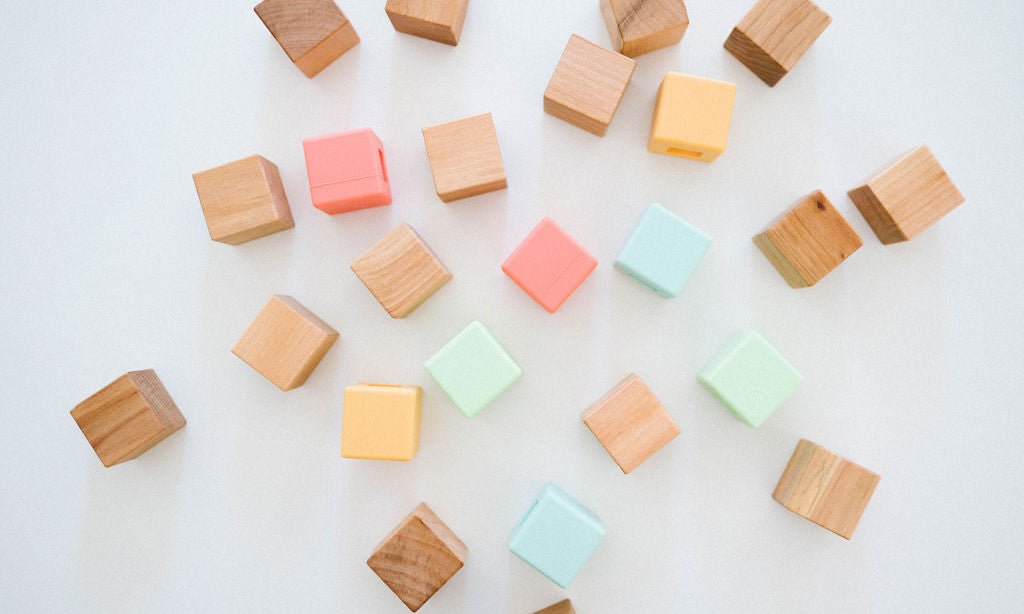
Silicone Shapes Block Set
They're as fun to play with as Lucky Charms marshmallows are to eat!
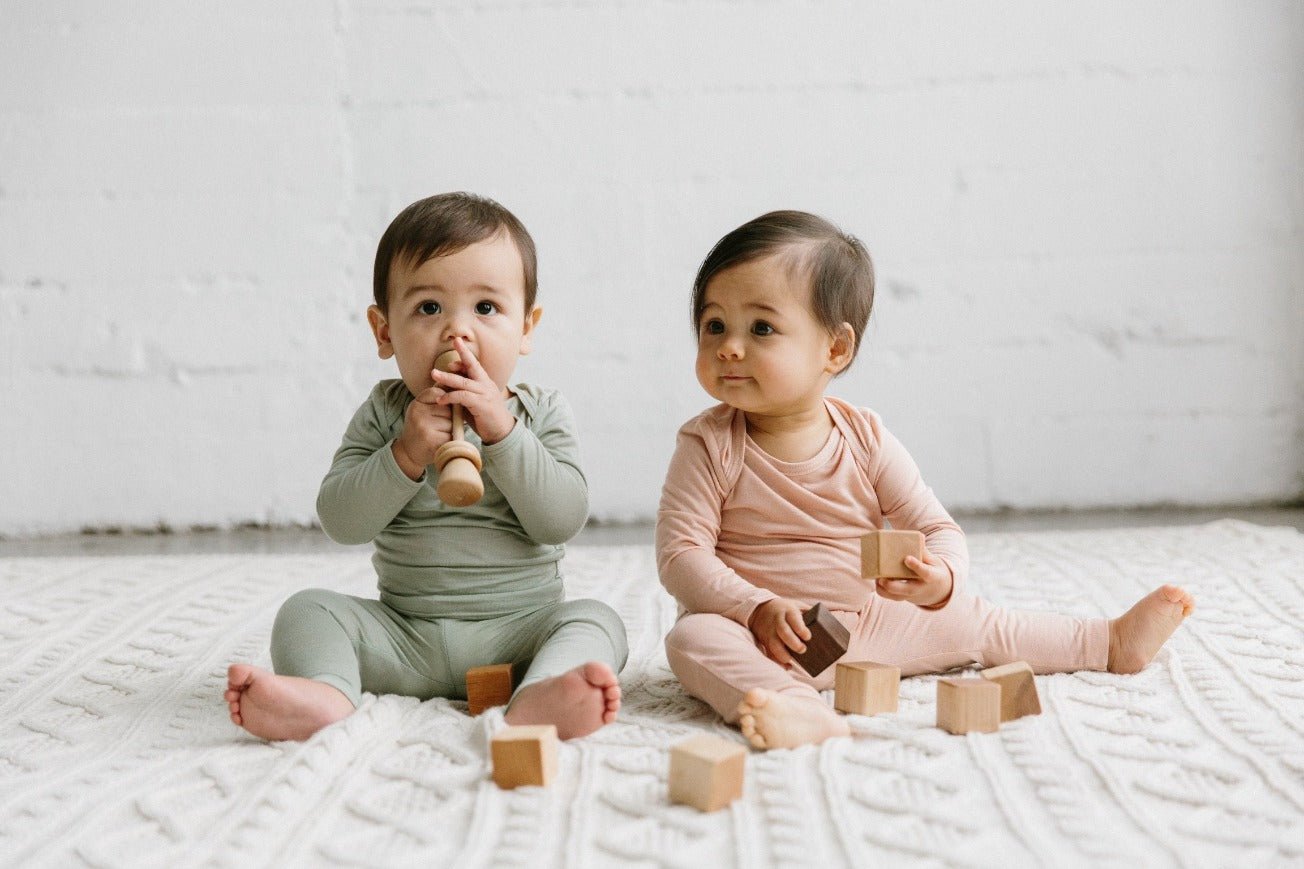
We believe play should be easy!
Baby
Little Kid
Shop All
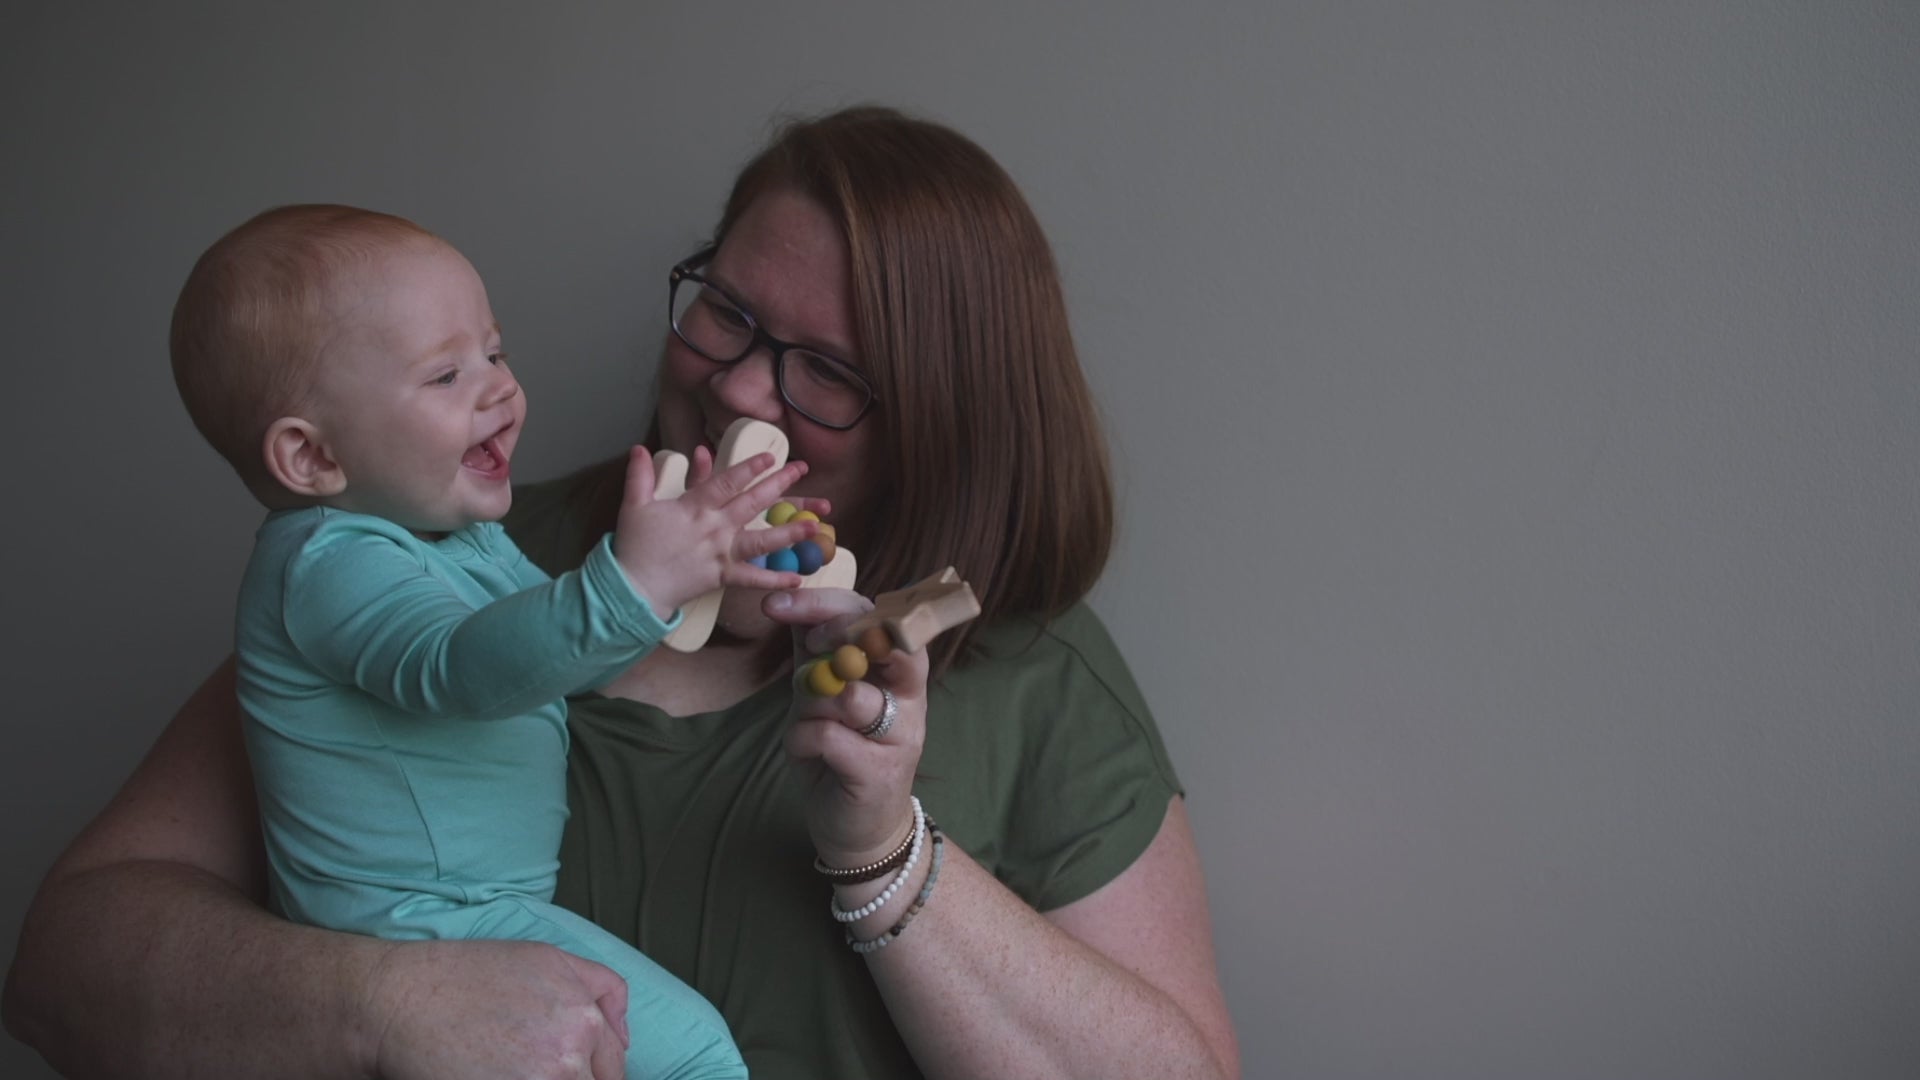
Created by parents
because play should be easy
Best Sellers
Our most tried and true toys

- Baby (0-18mos)
- Little Kid (18mos+)


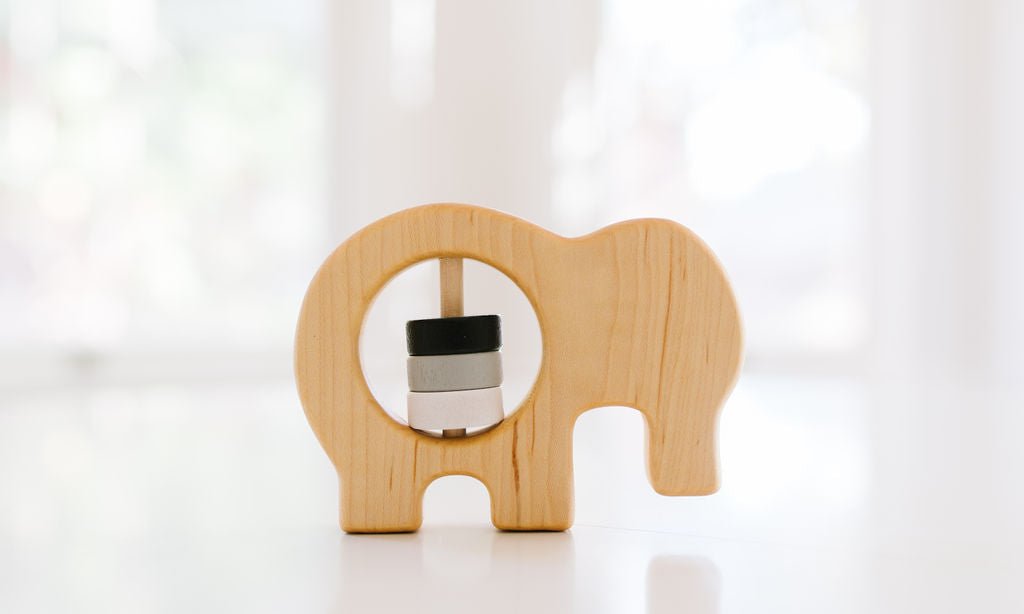


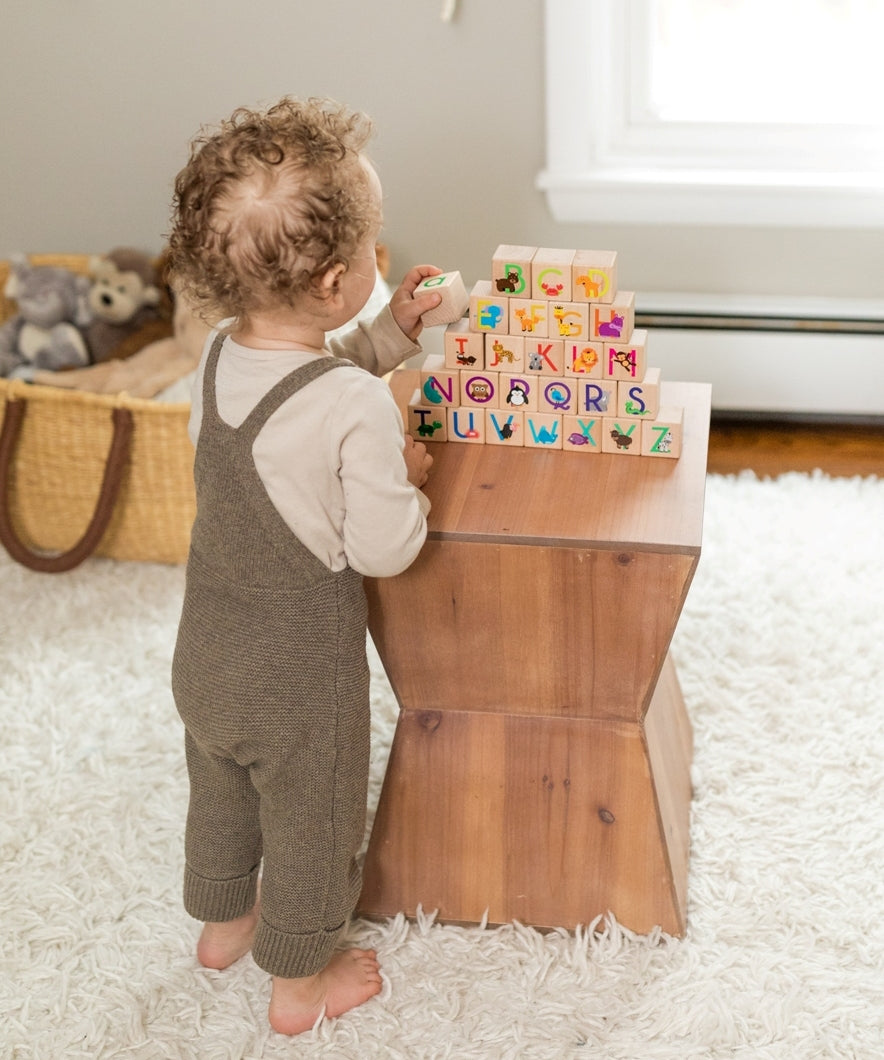
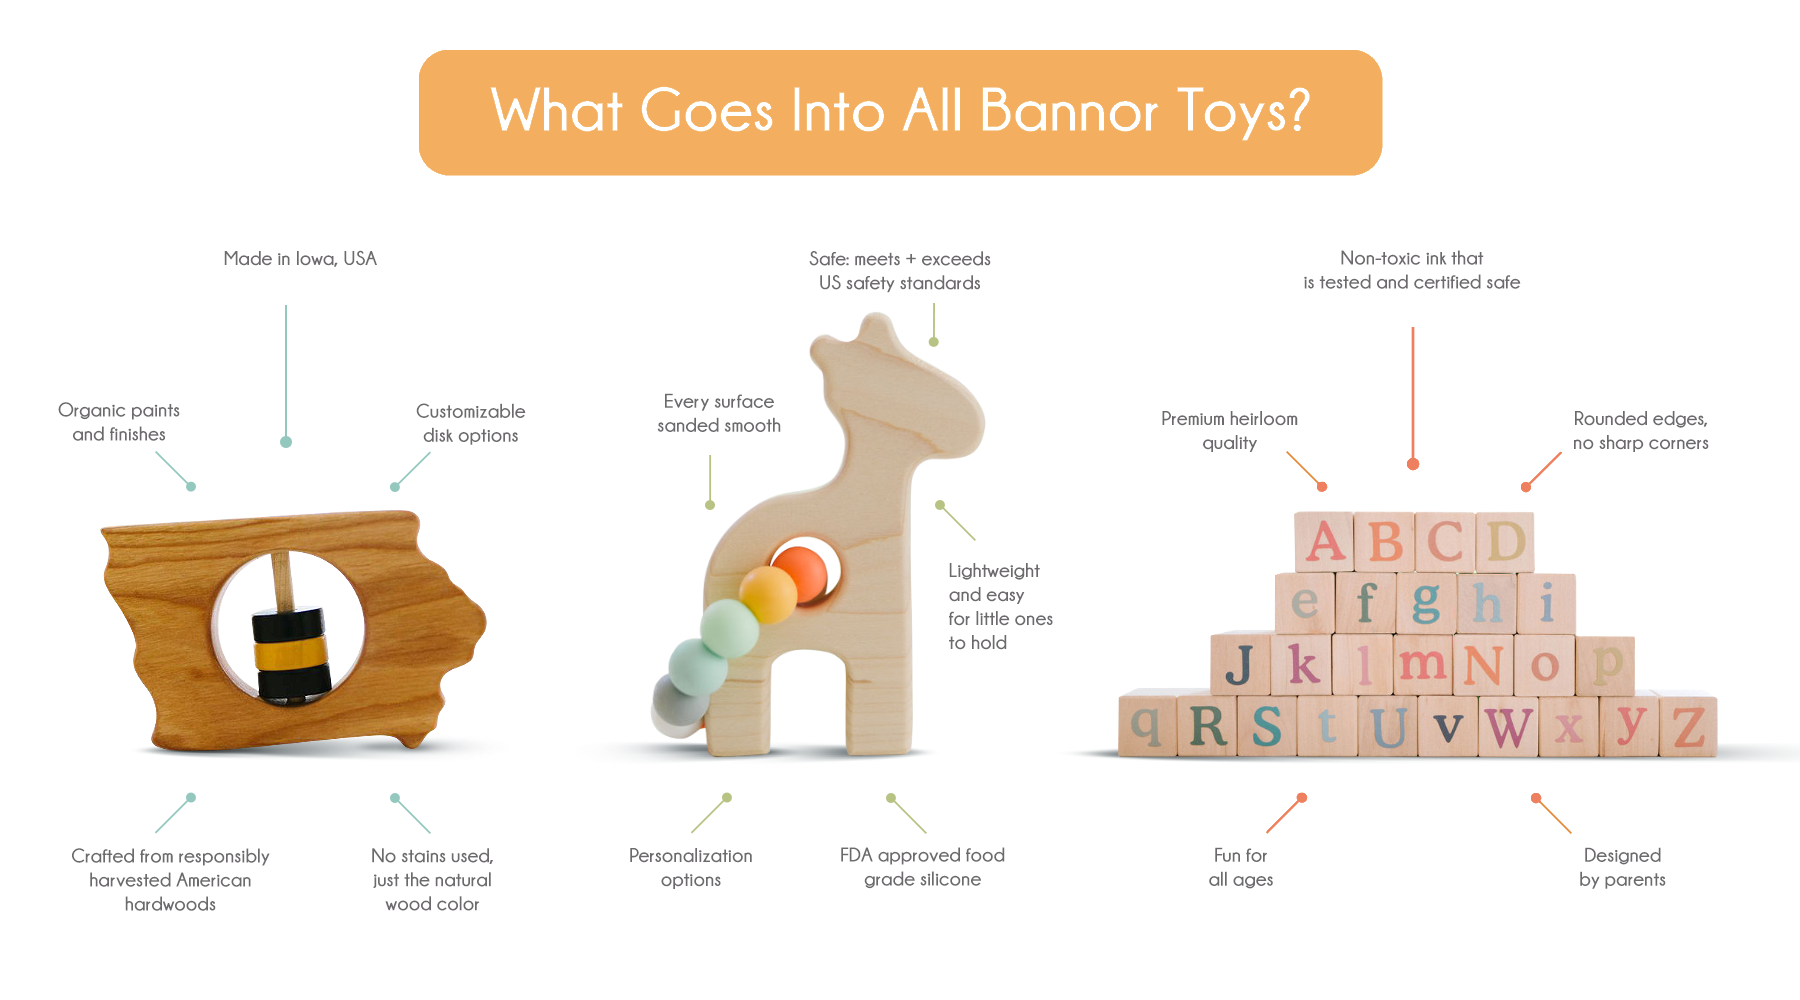
Craftsmanship is NOT a thing of the past!
Care, love, and a whole lot of safety goes into making each and every Bannor Toy! From the materials we use to the processes in creating each toy, we have your kids in mind when building toys.
we're kind of a big deal


Let customers speak for us

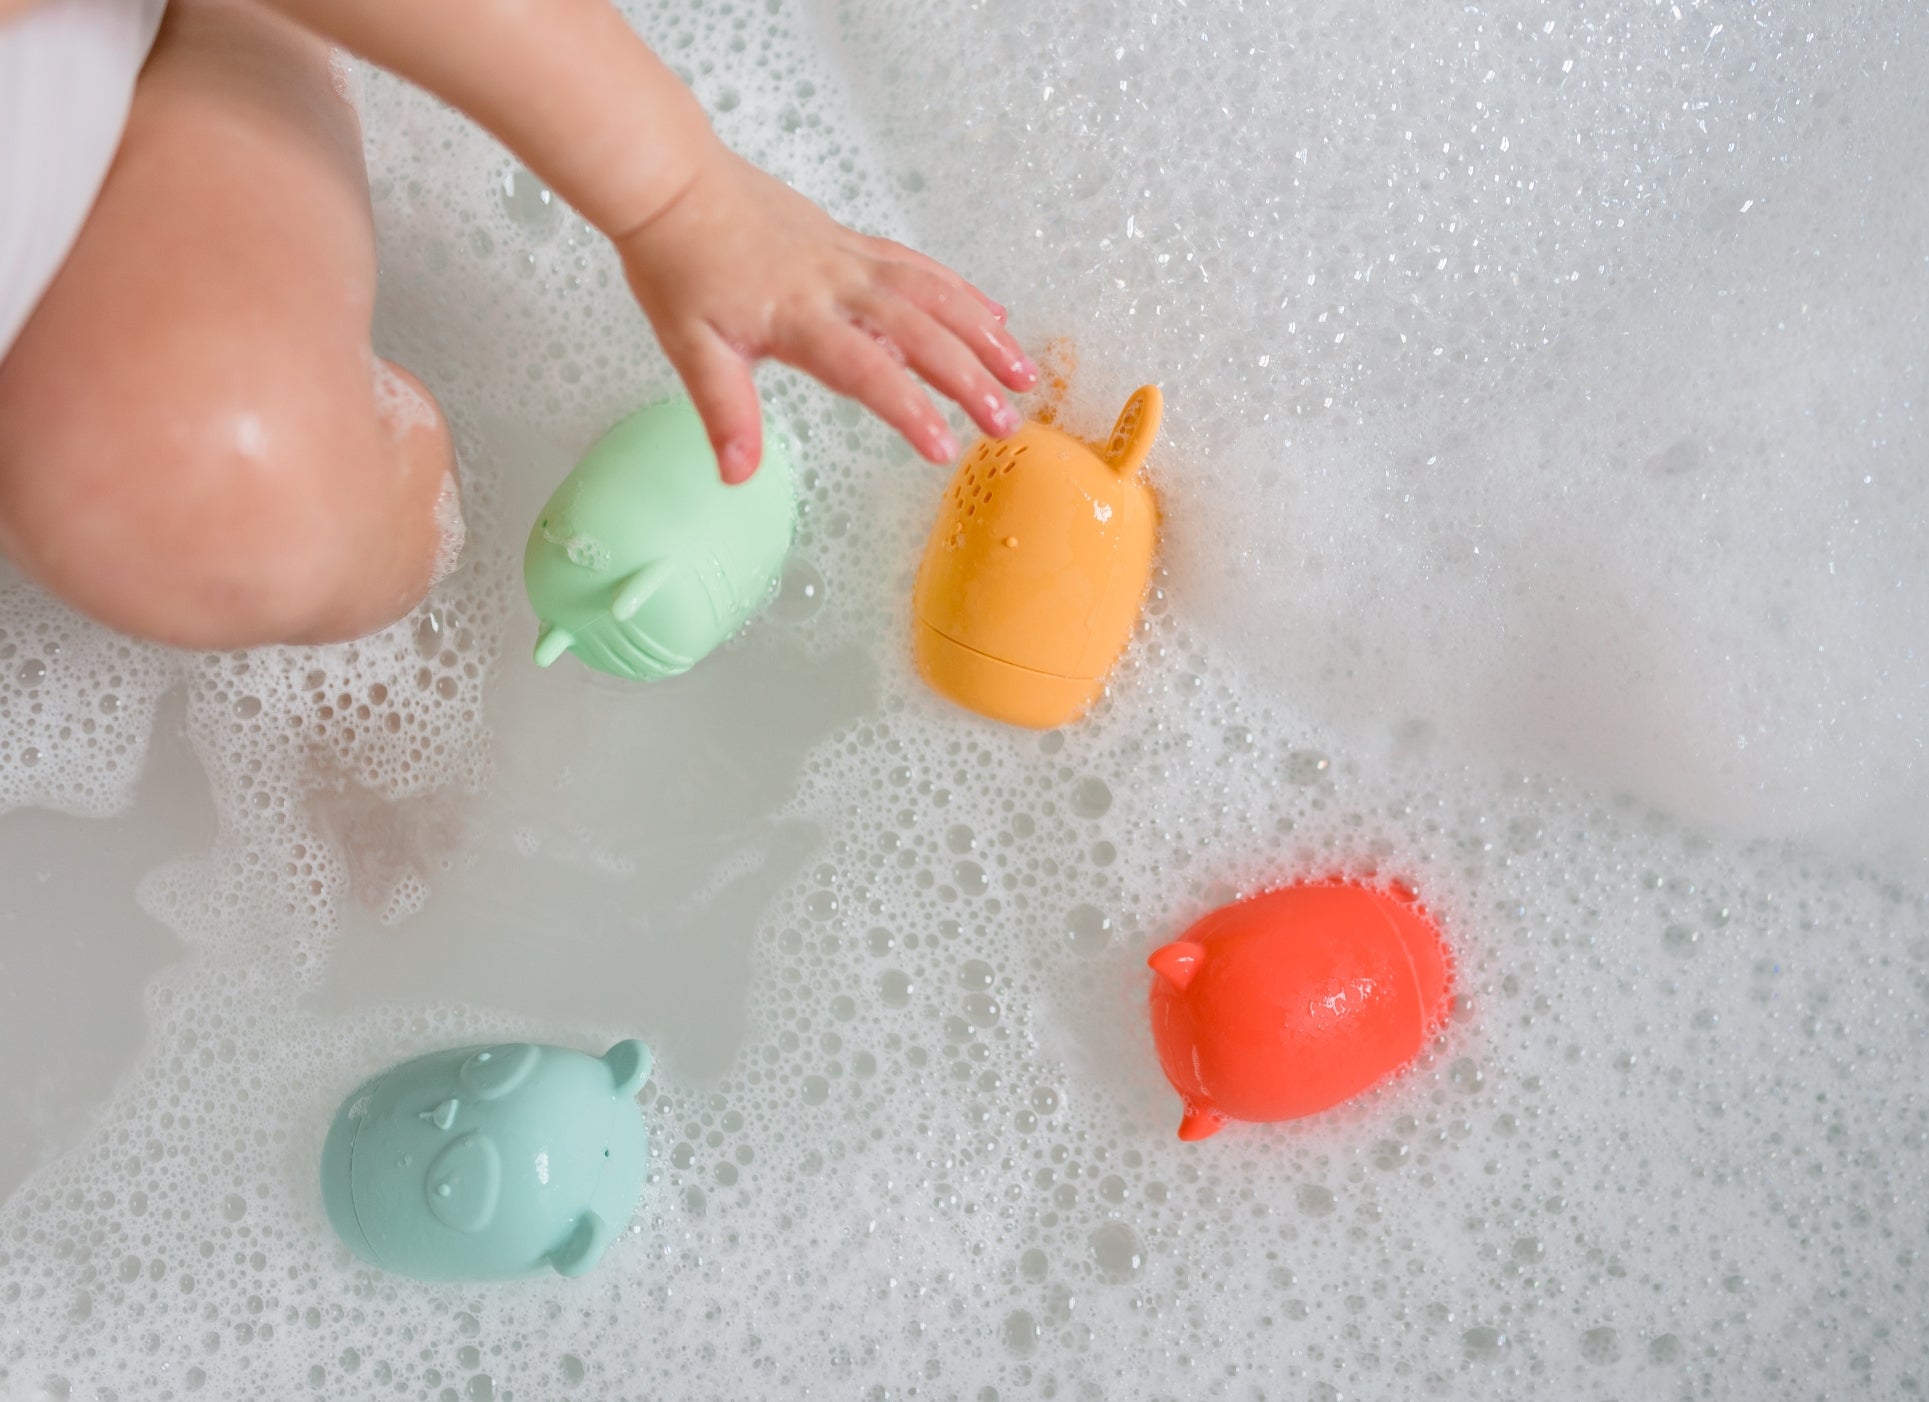
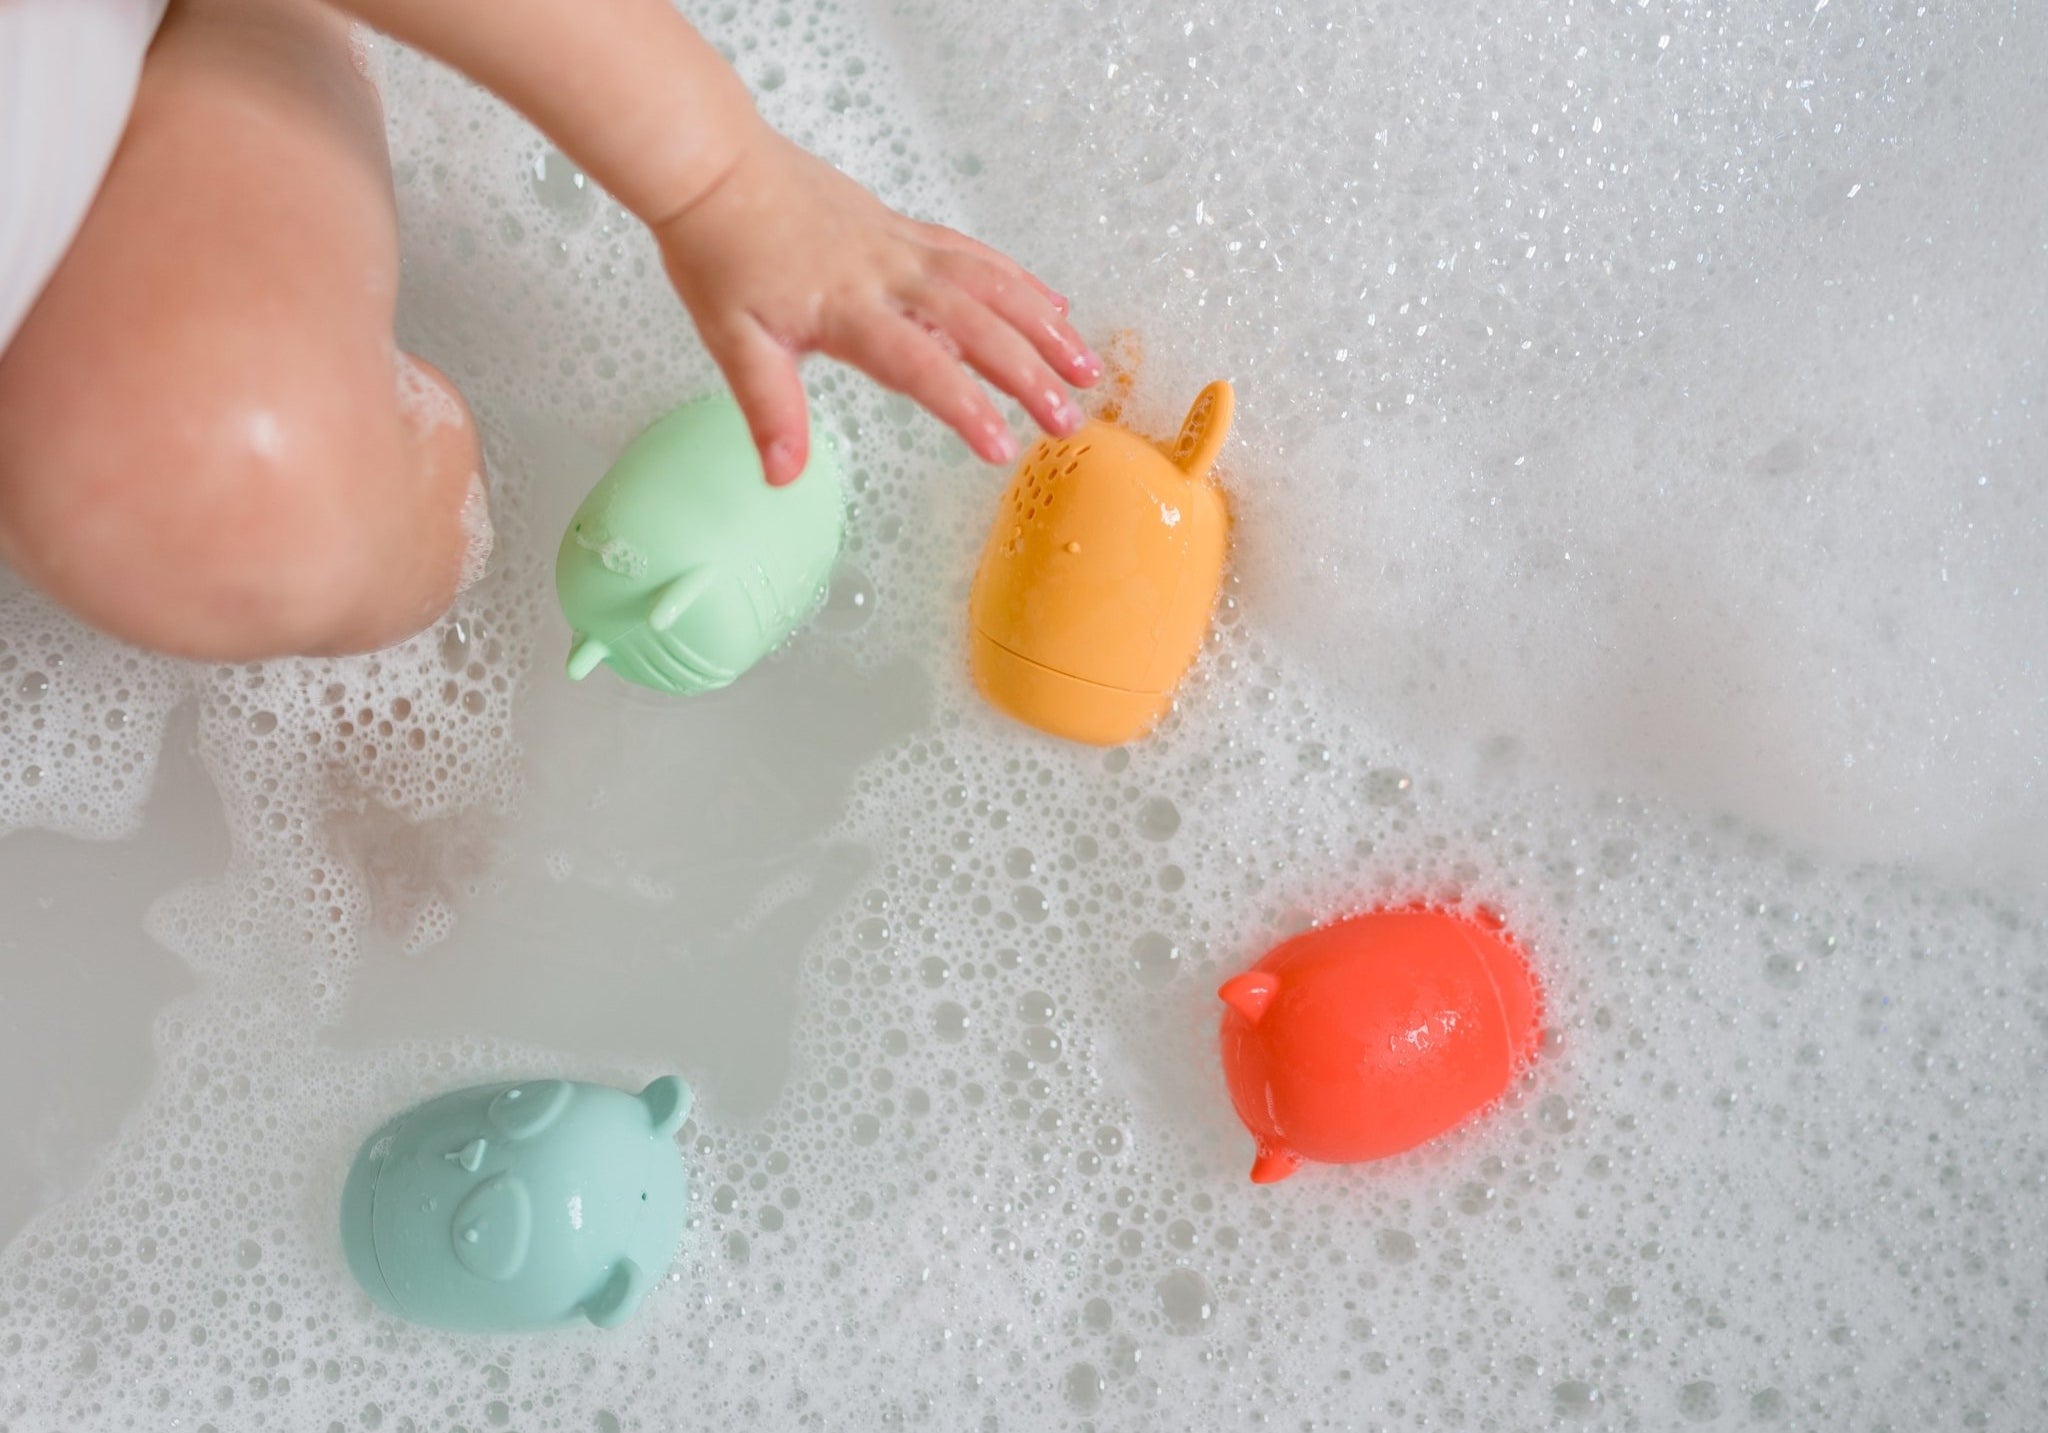
I’m not normally someone to leave reviews, but I’m so impressed with these silicone stacking cups!
Firstly, the colors are so beautiful and I was pleasantly surprised by the quality of the silicone.
The bottom is thicker and helps the cups keep their shape and stack easily. They feel sturdy yet soft enough to be flexible. You can stack them so that they connect and fall connected or you can leave them loose so they fall separately. They’re a nice height for my 6 month old when all stacked together. The two smaller cups do not have holes but the rest do, which makes them so fun for bath time.
Right now at 6 months old we use them as a tower to knock over, bath toys, hiding an object under them, when they roll away they become something fun to crawl to, and since they’re soft silicone they’re also great teethers.
In the future, I think these will be great for open ended imaginative play. I think these will grow really well with my baby and because they’re such great quality, I know they will hold up for years to come.


This one is a hit in our house! I love that it's teaching him there's a real camera that exists to take photos, not just cell phones!

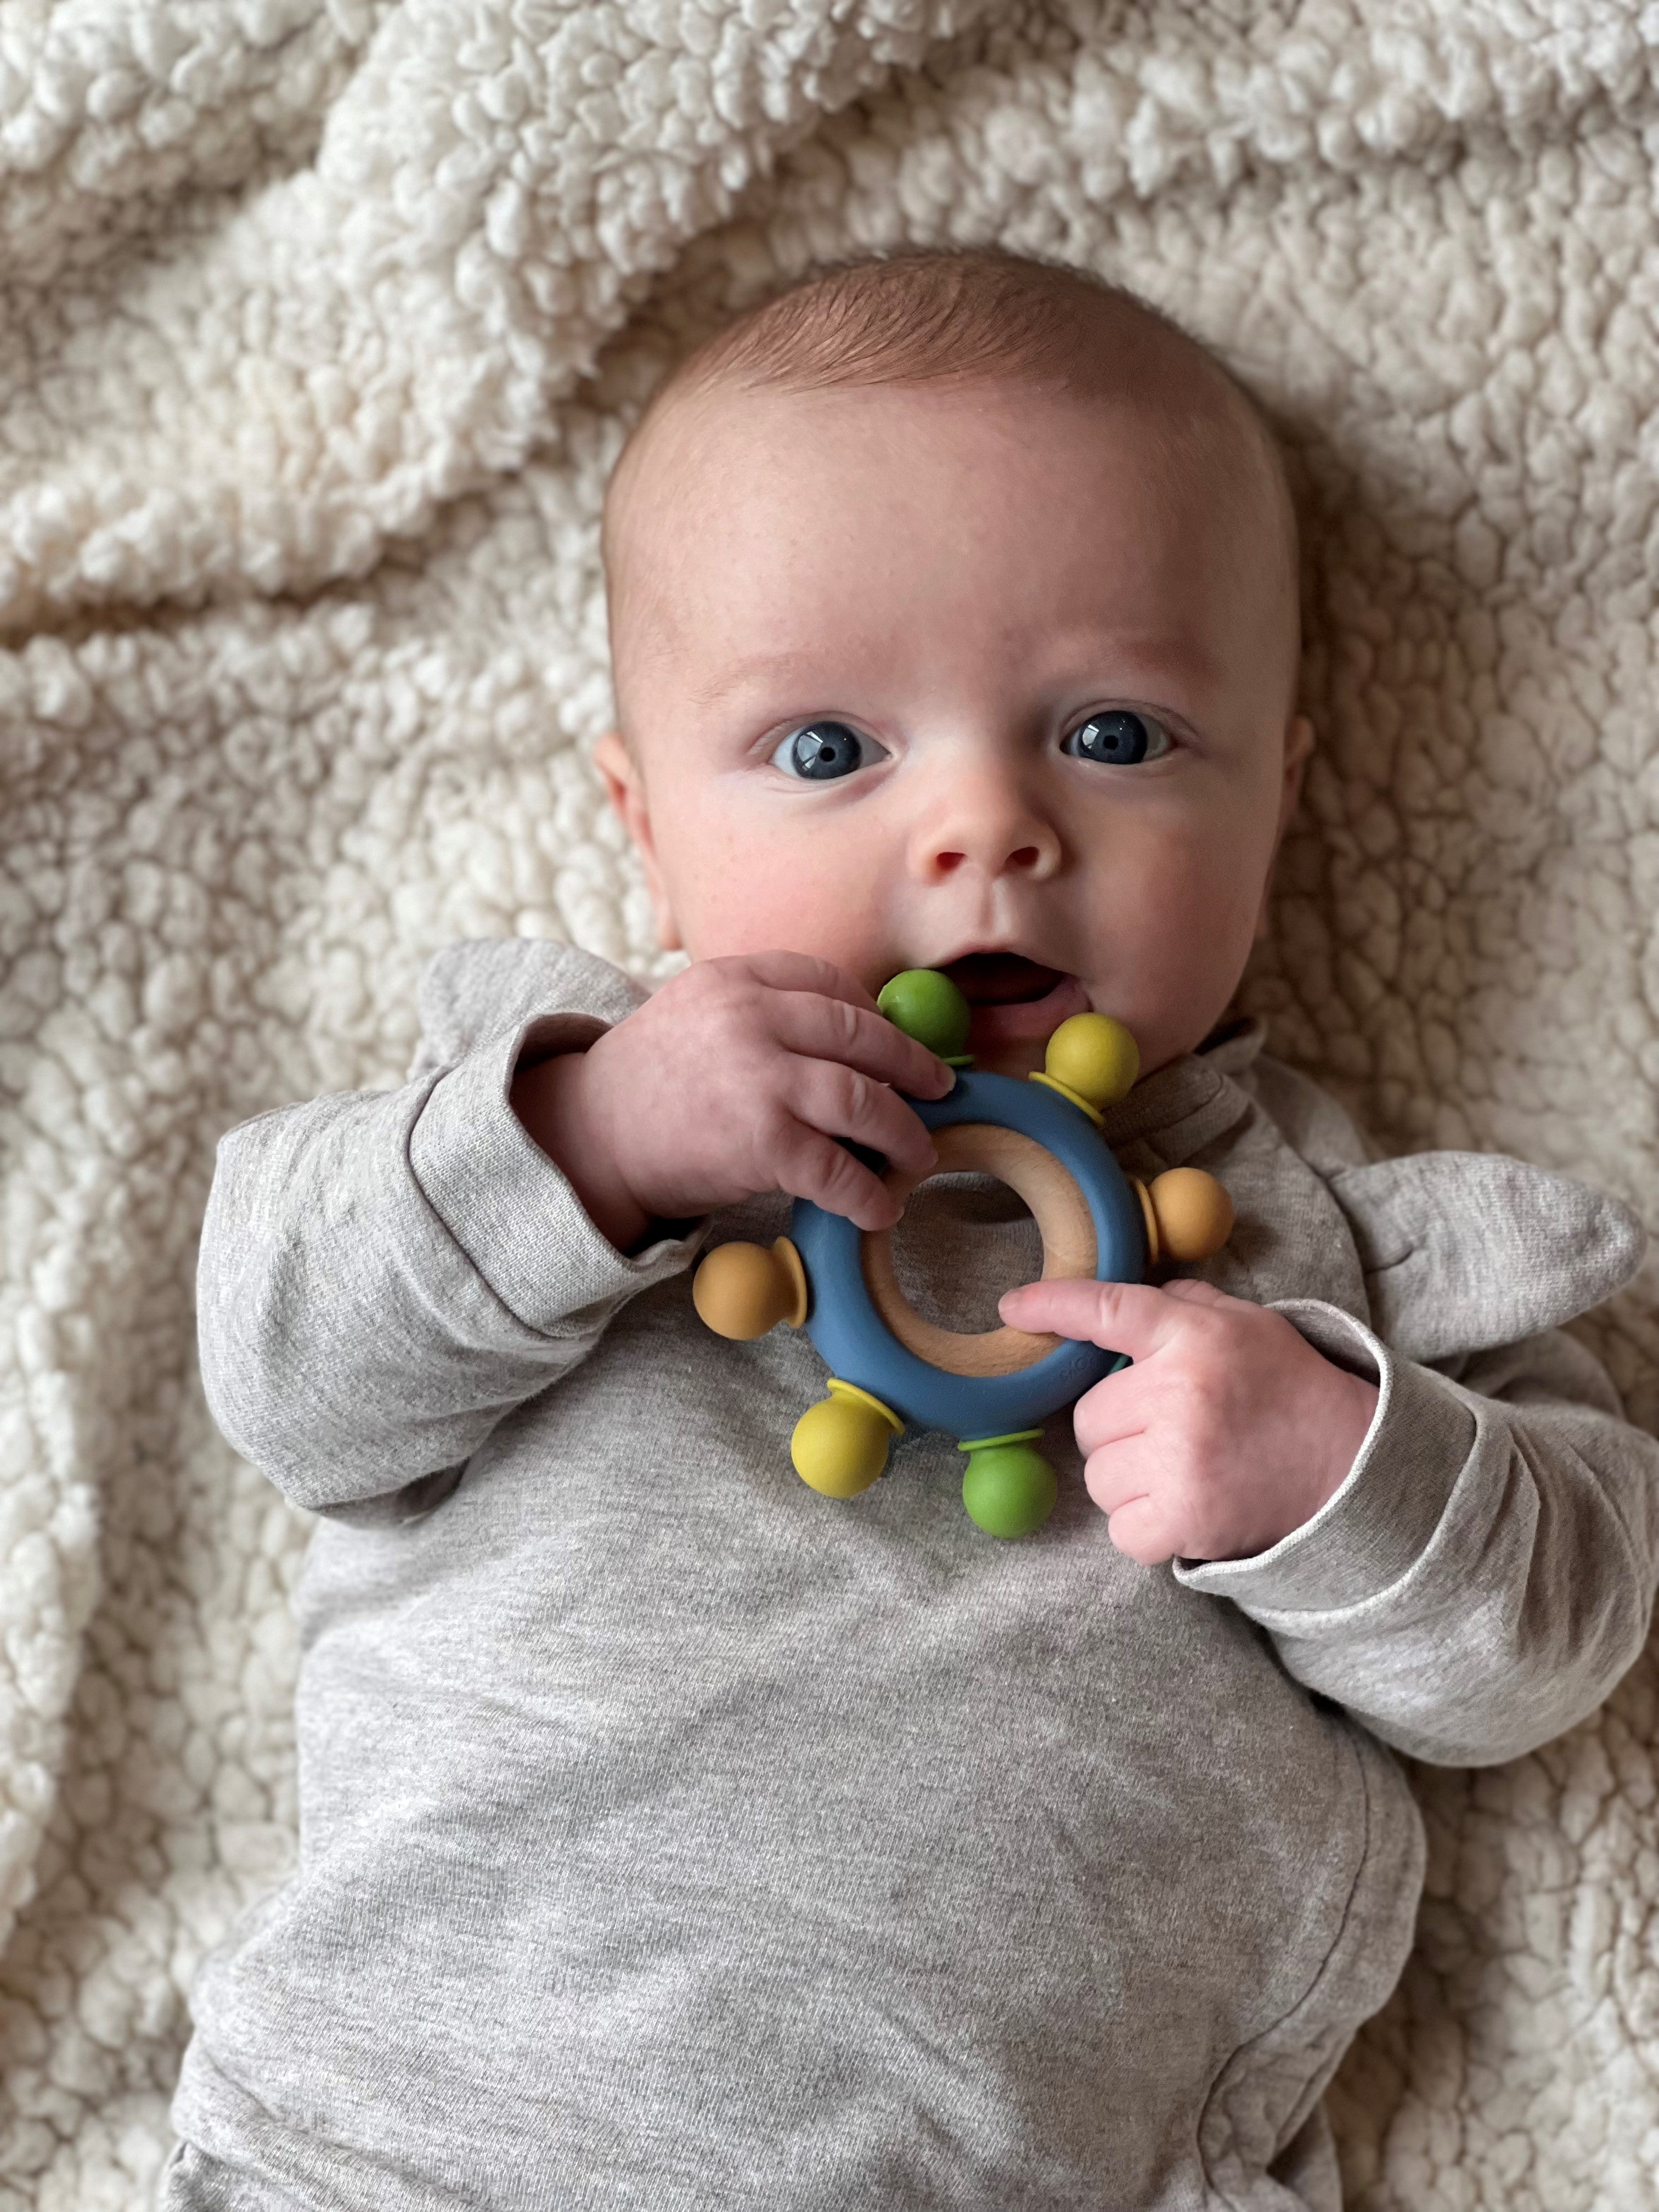
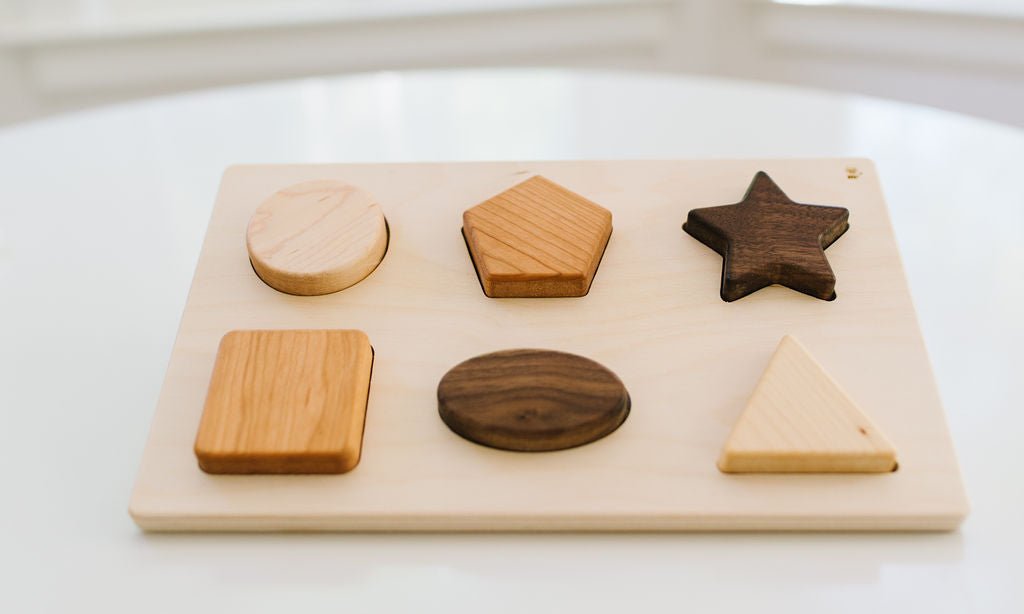
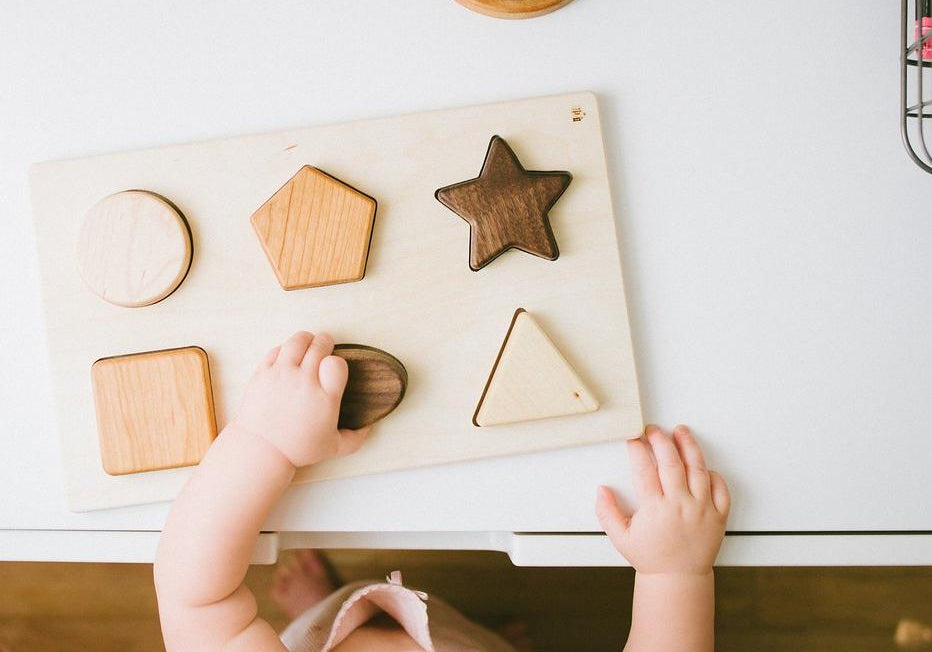
These are wonderful! The shapes are great teething toys. Just the right size for my 6 month old grandson to reach for on his high chair tray, and so fun for him to discover the different shapes and colors. We look forward to building with the shapes and blocks as he gets a bit older.


I purchased this for my grandson a year ago and was so pleased with it, I purchased the same toy for a dear friends new grandson as well.

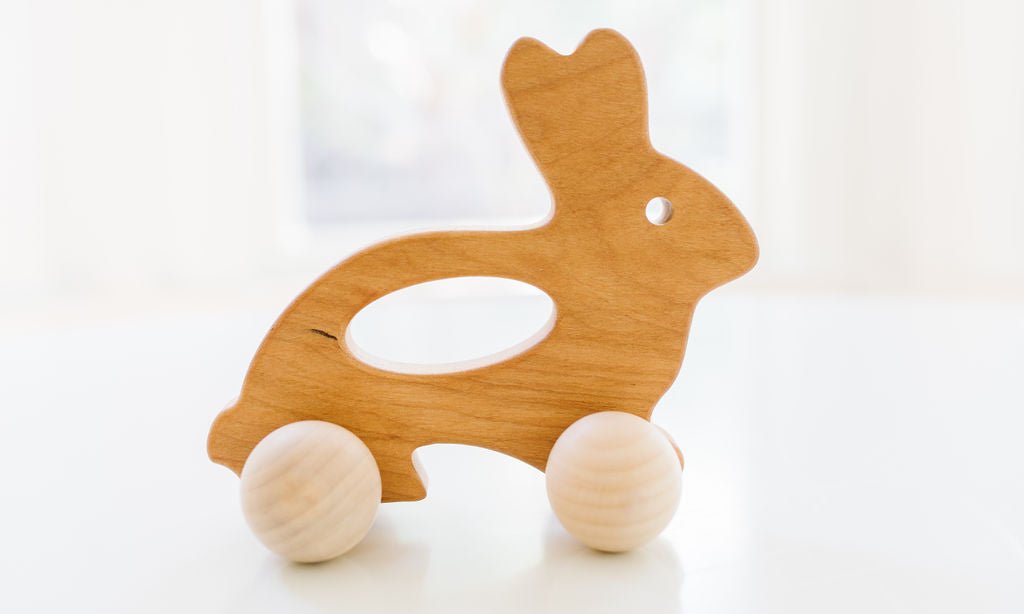
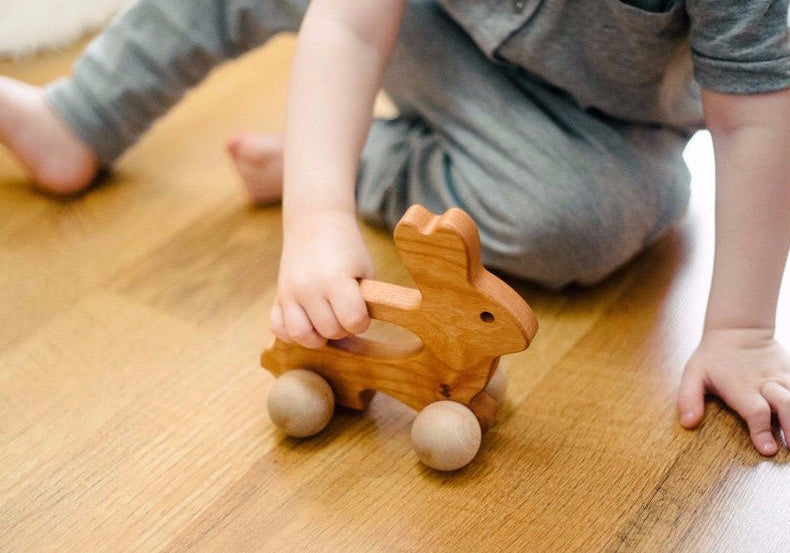
My almost 6 month old grandson loves his bunny push toy. Although he isn’t sitting up on his own, he reaches for the bunny when laying on his back and pushes it without fully grasping it. The bunny is very well made, with smooth edges. It rolls easily, even on carpet. Thank you, Bannor Toys!

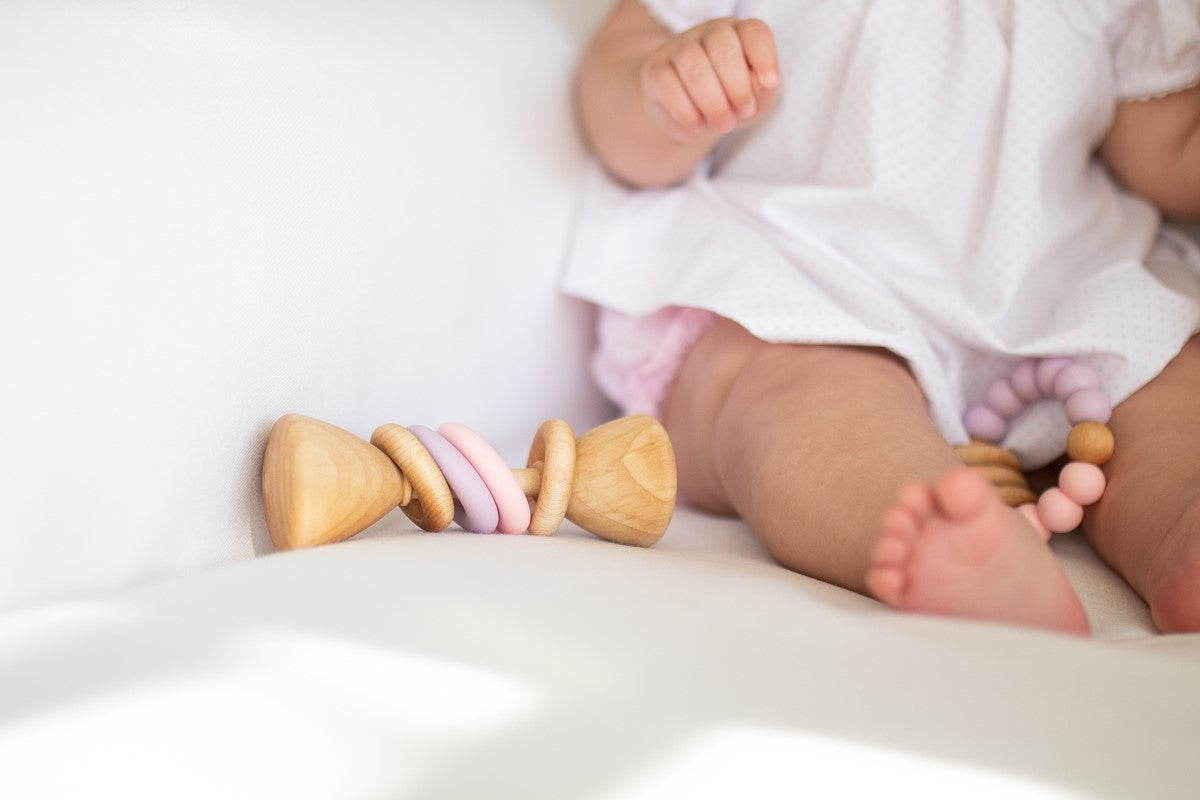
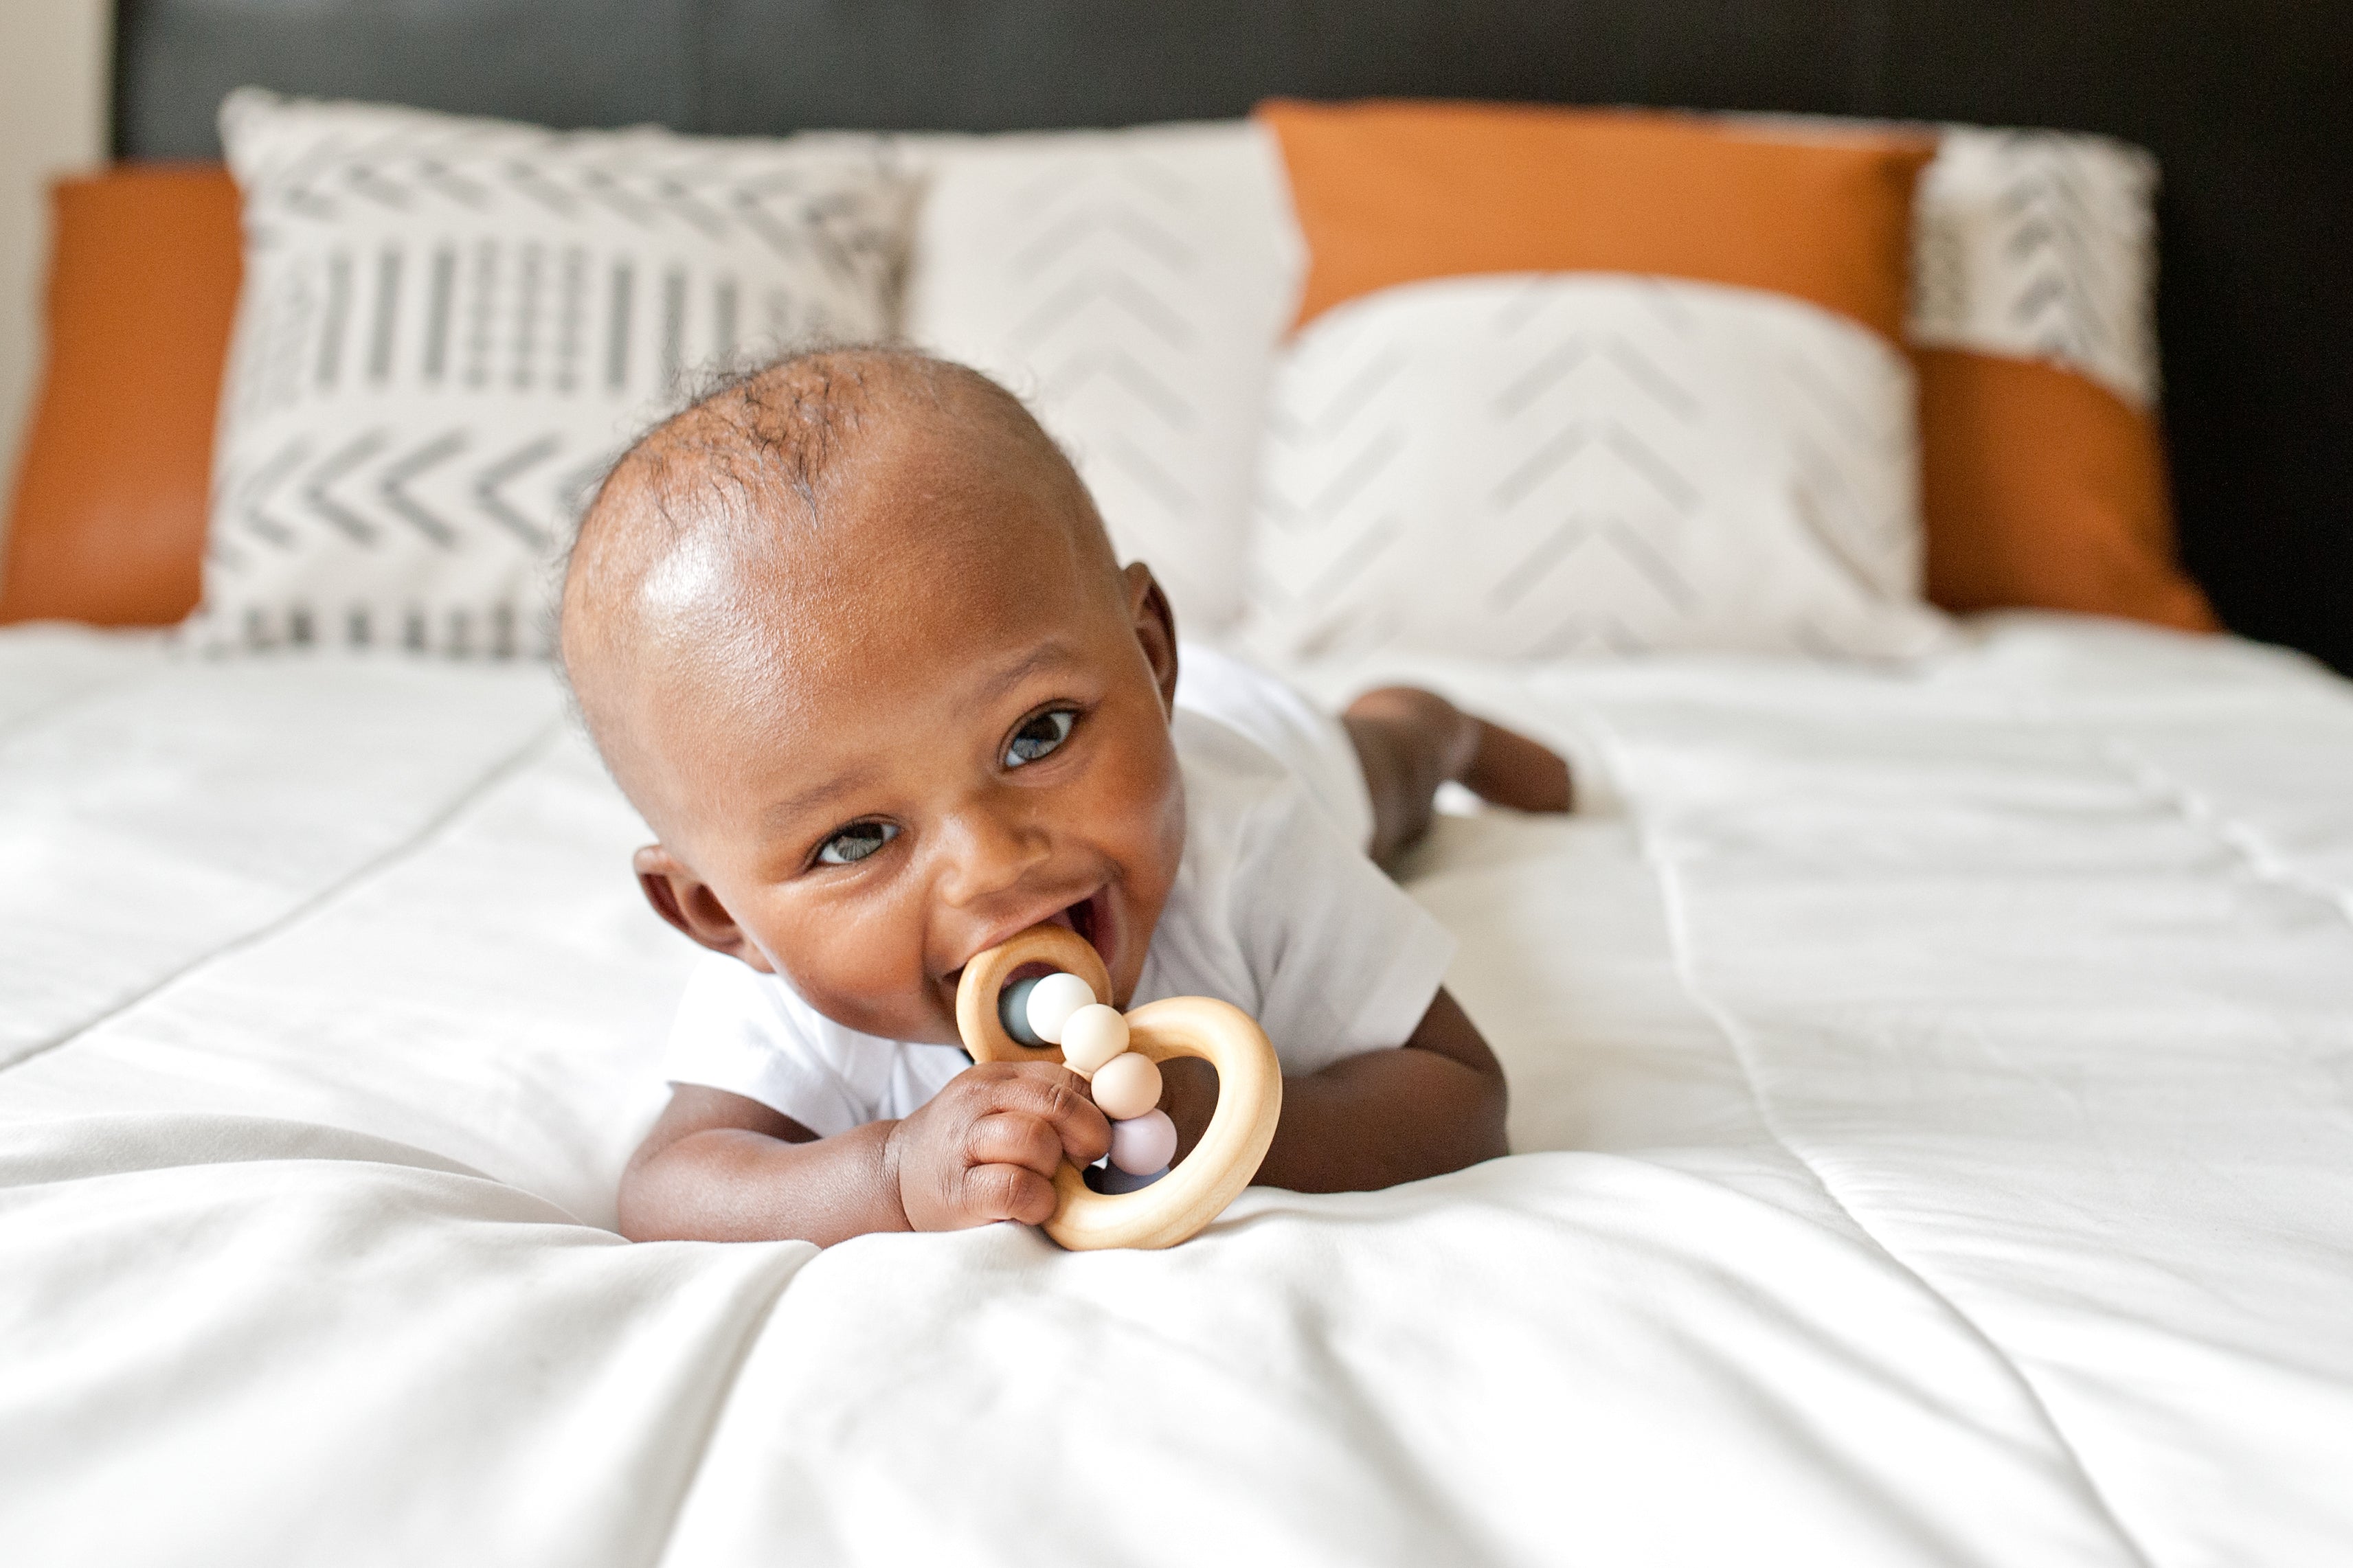
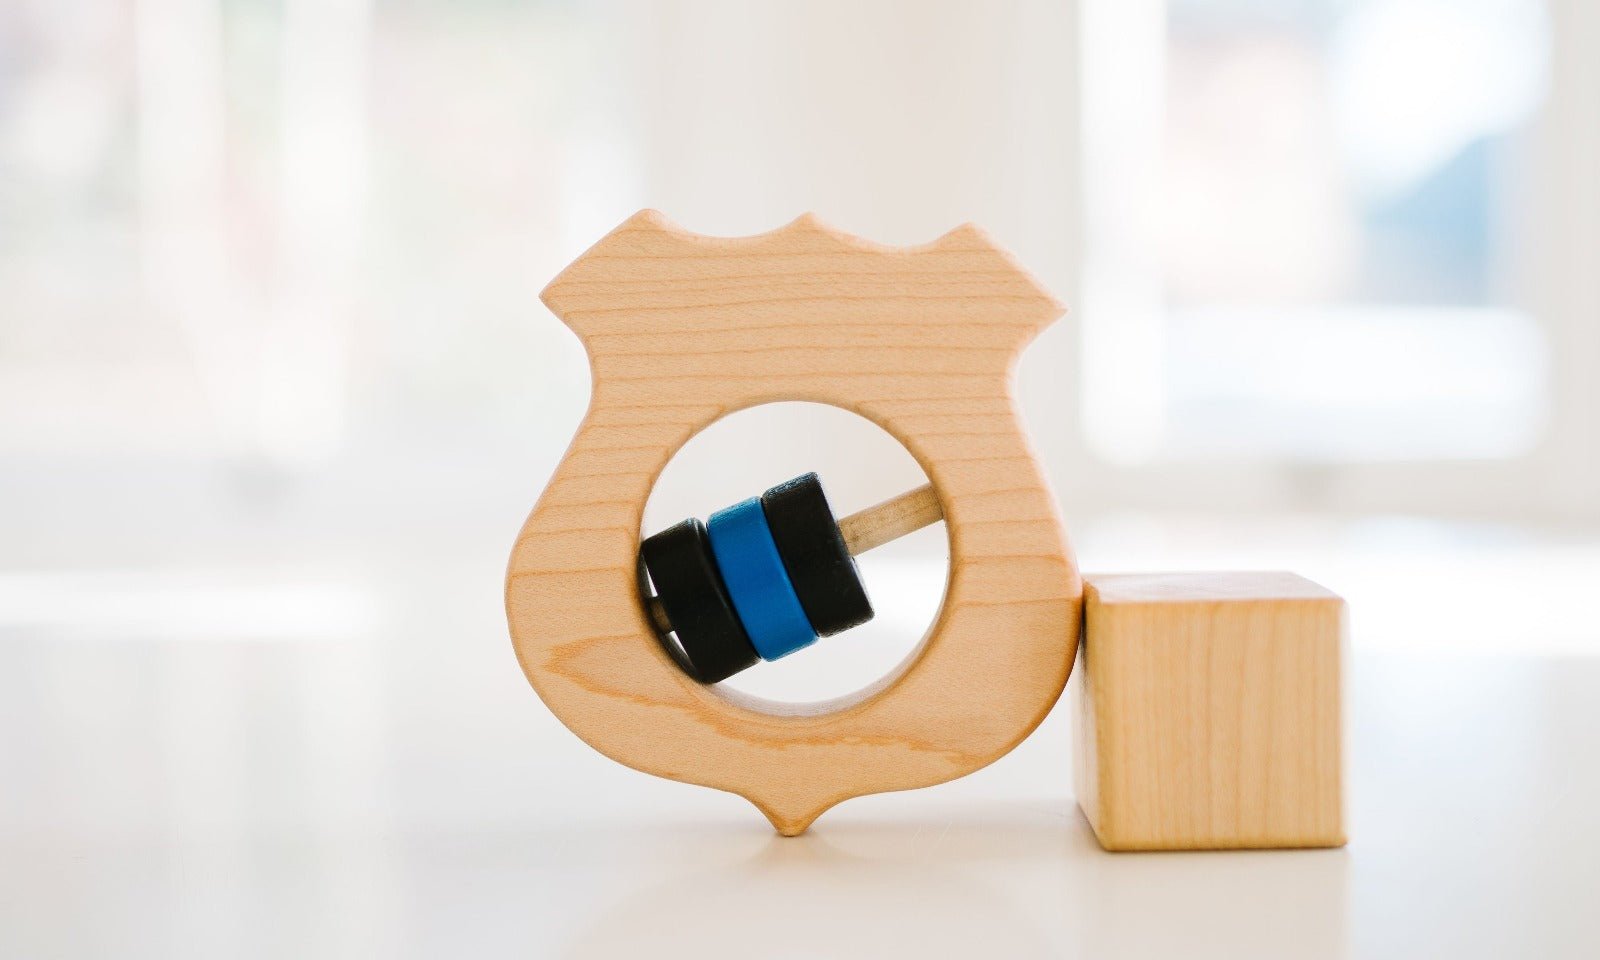
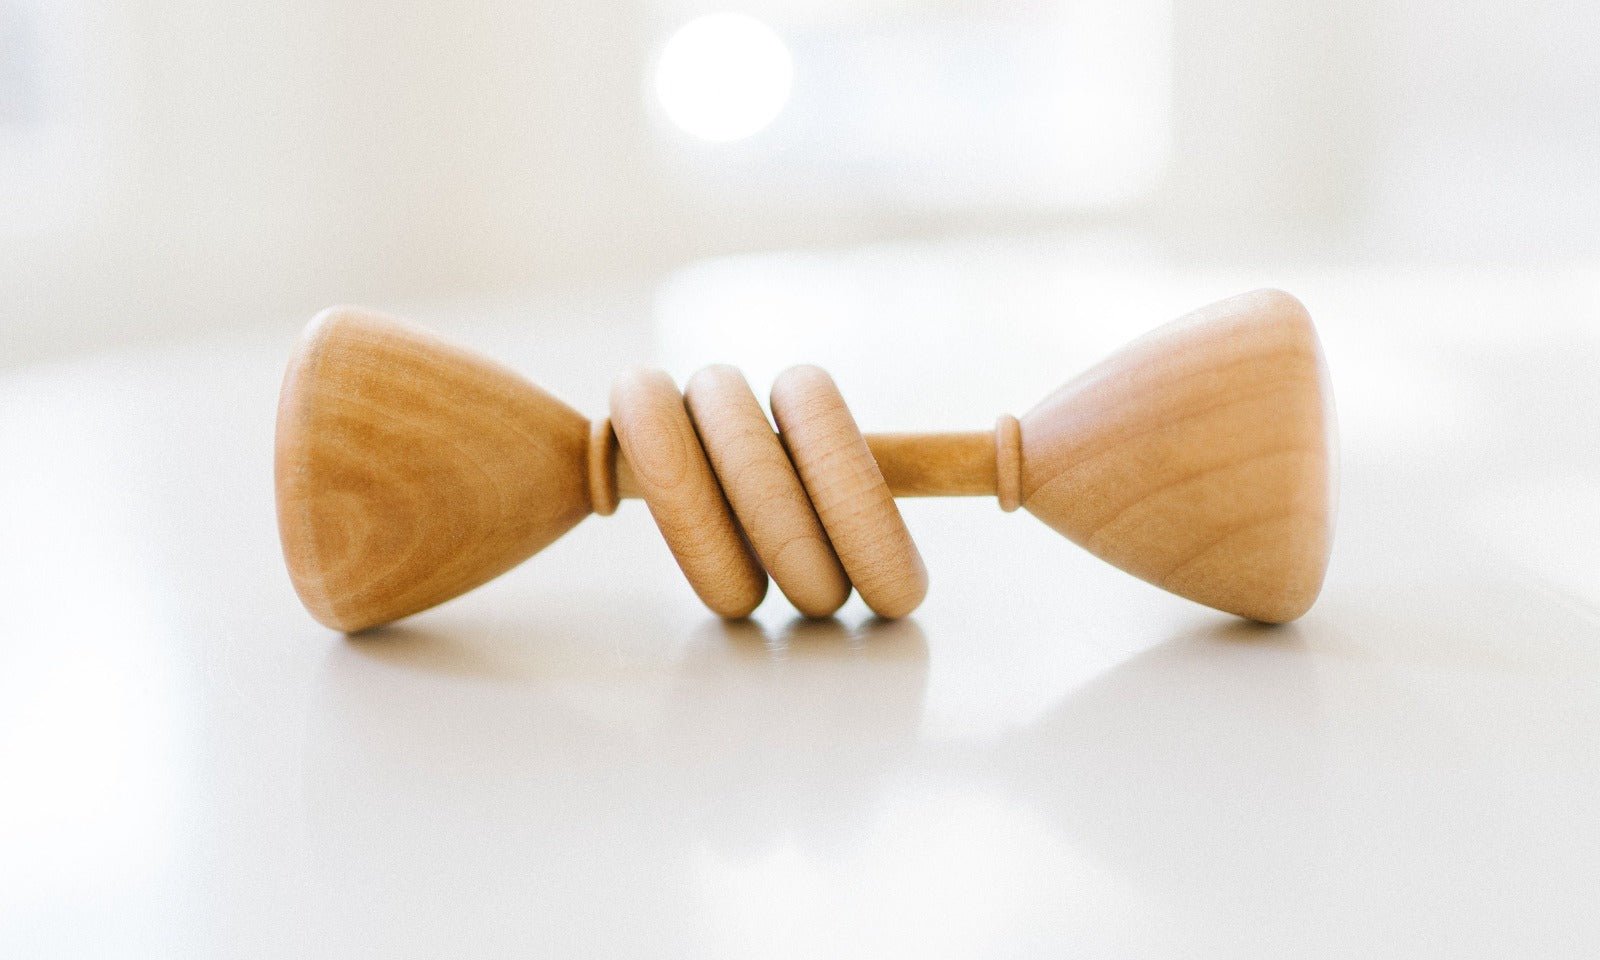
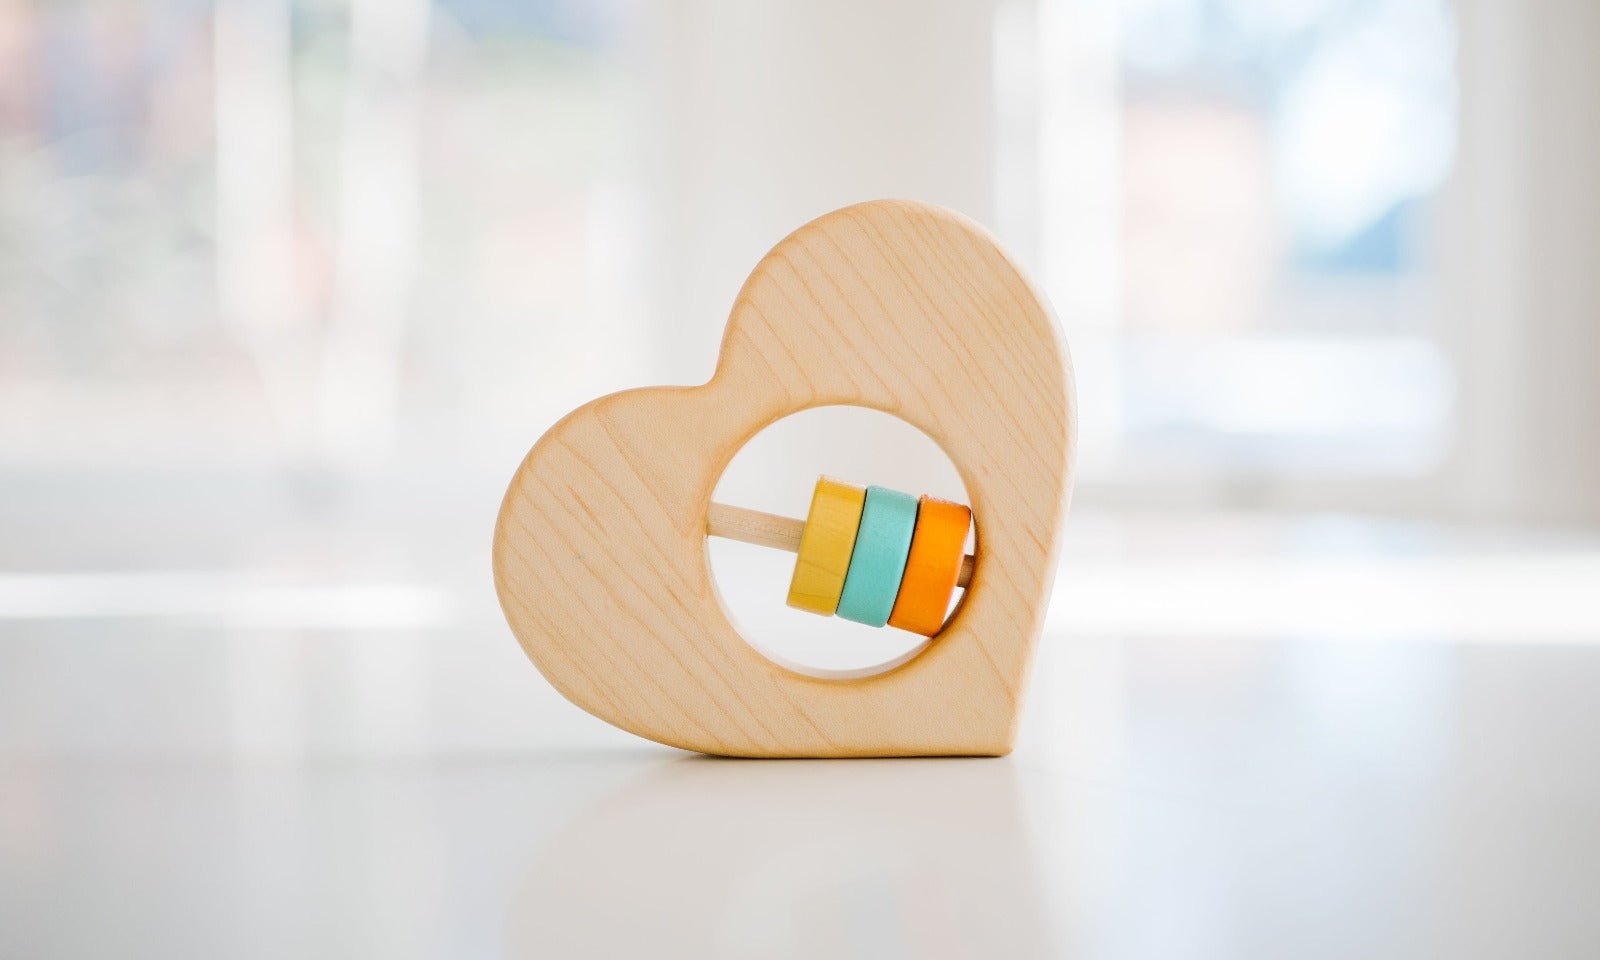
My 8 months old grandson loves all his Bannor rattles. I was so happy to find these quality toys made in America. I will continue to buy more for him.

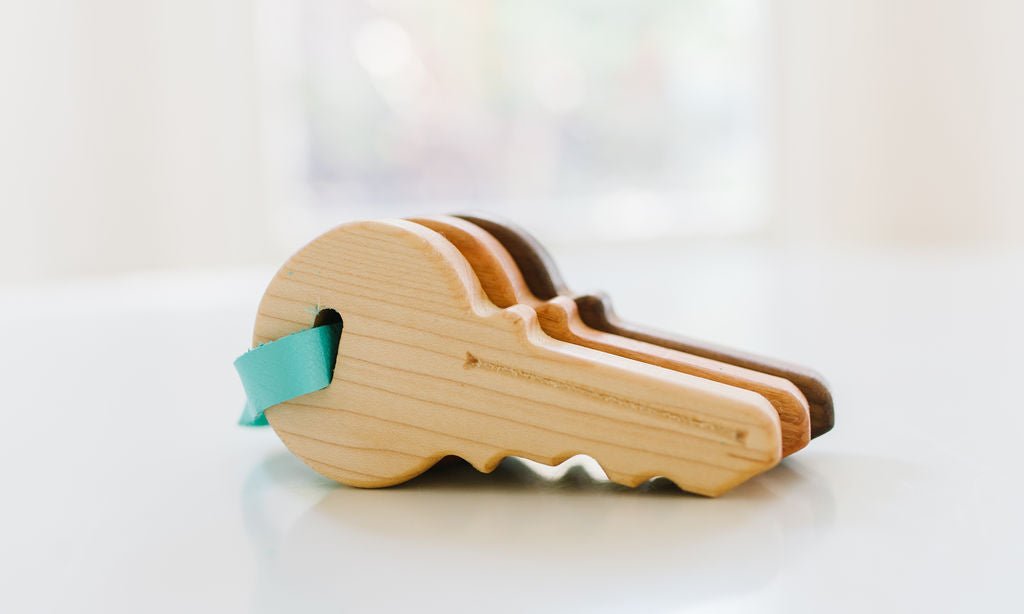
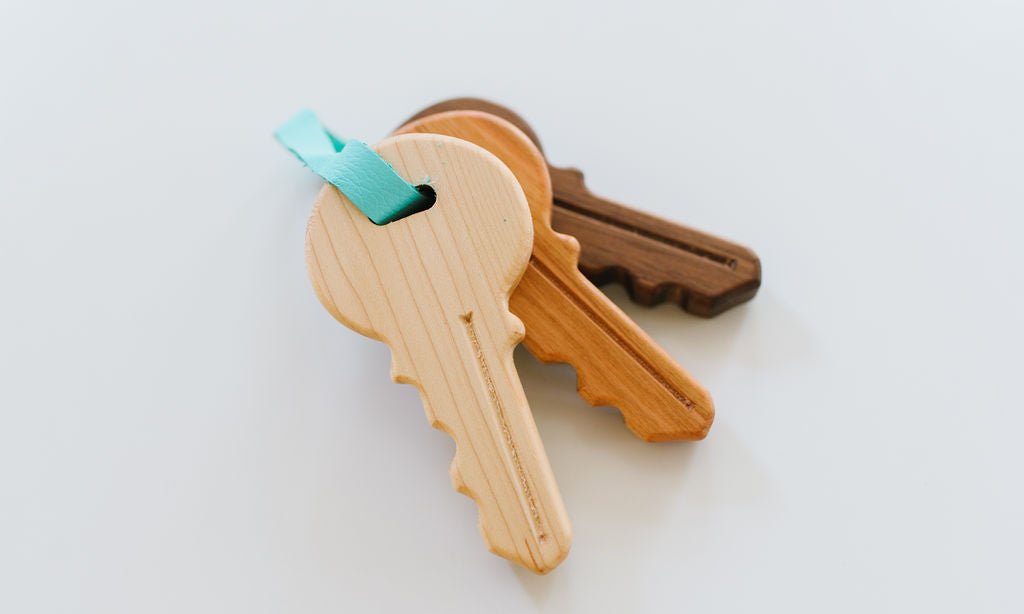
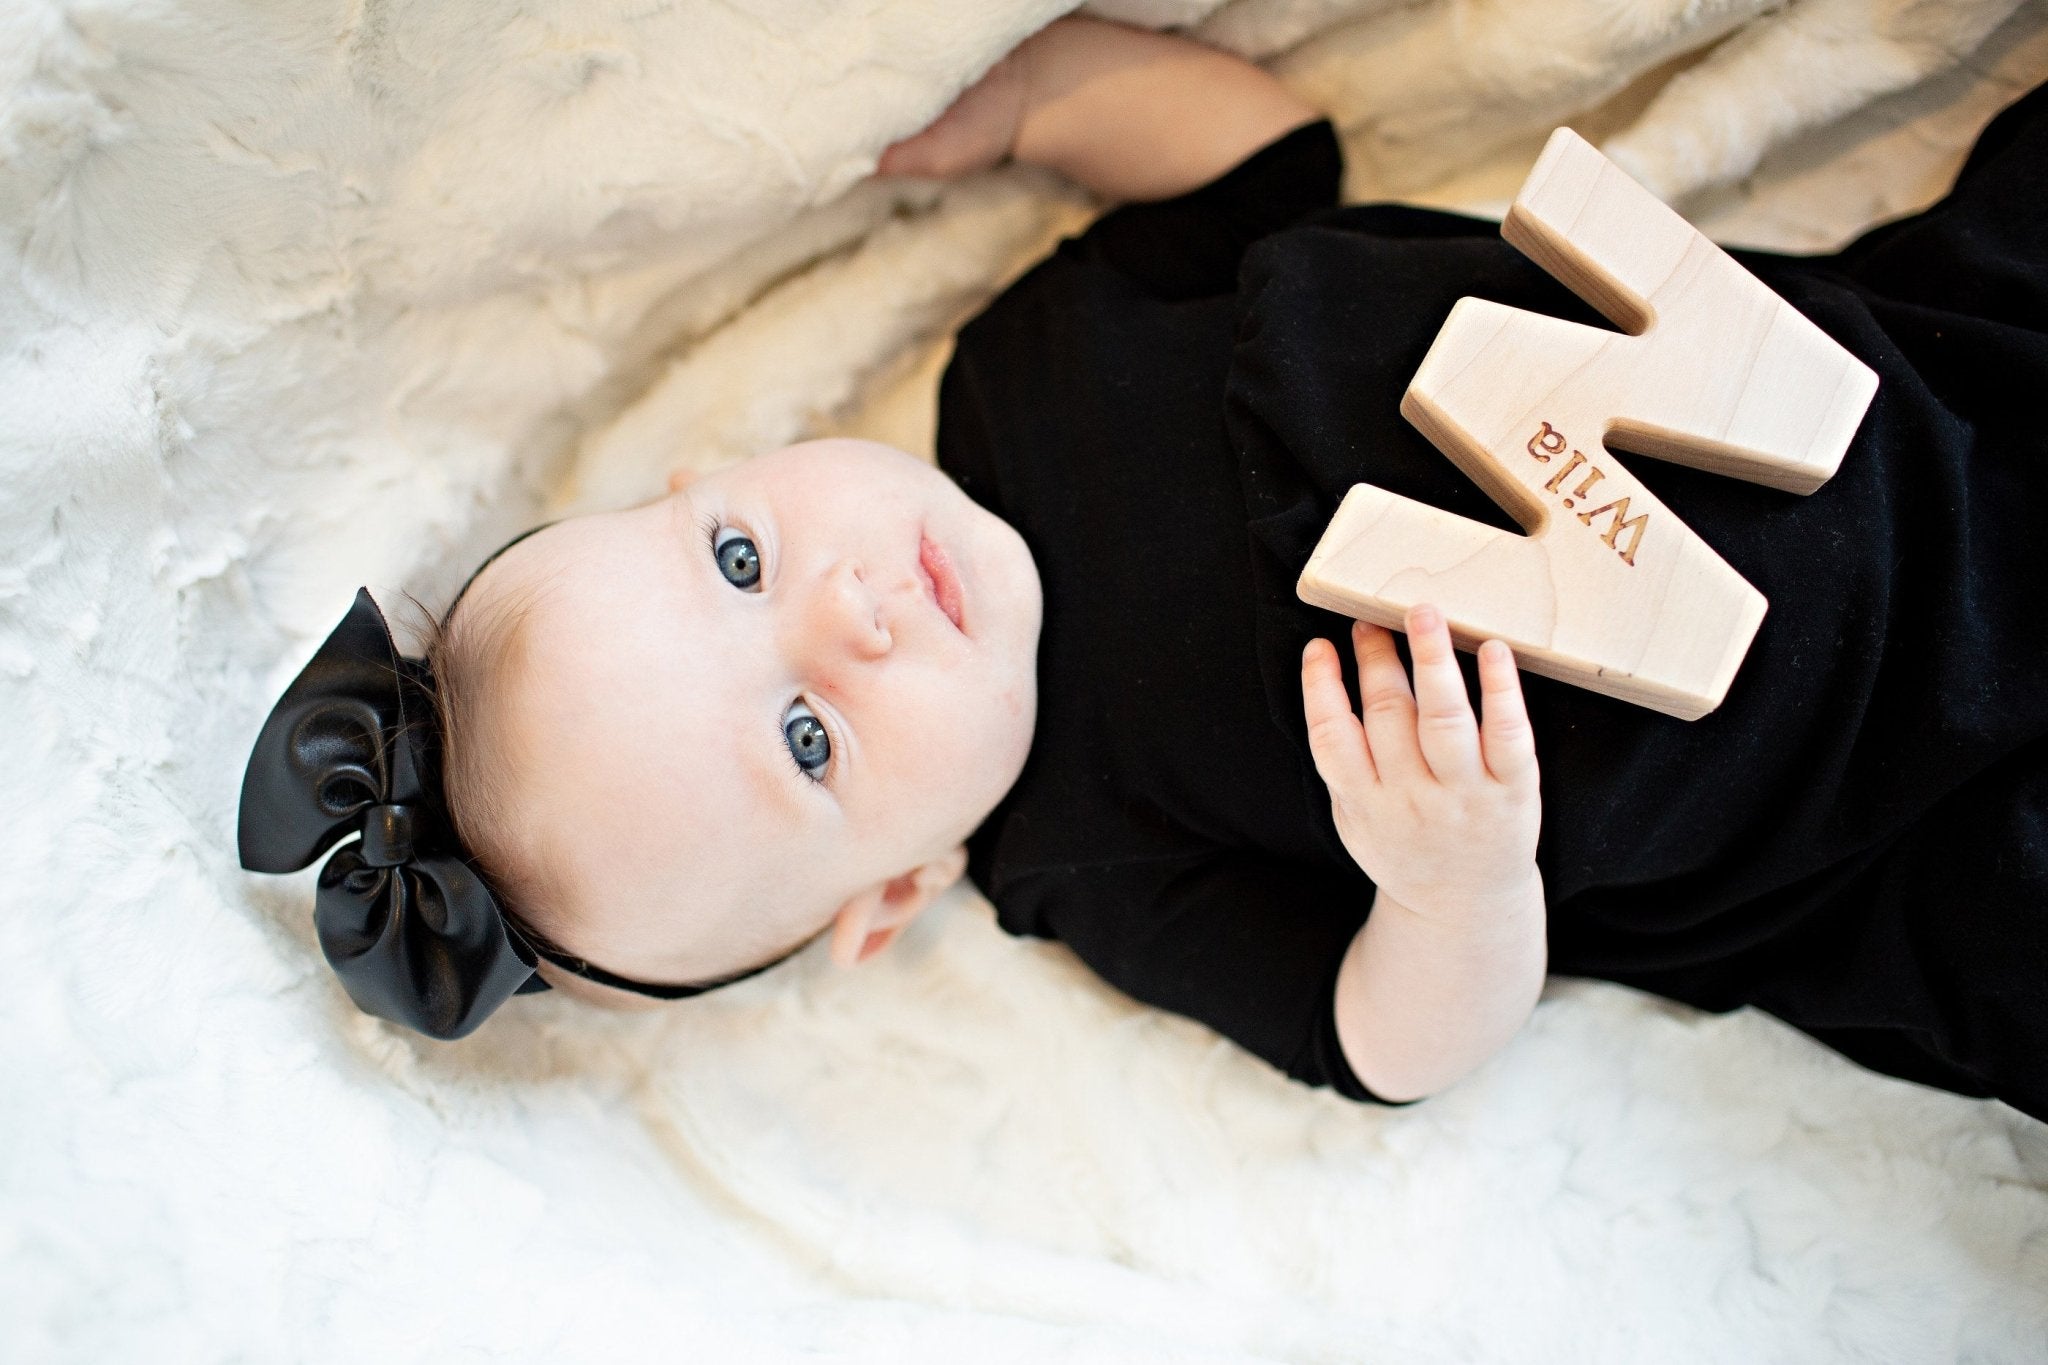
Bought both of our grandsons one for Easter and they are so nice! Great quality! The wood is smooth, easy to grasp and can’t wait to give them to the boys! These handmade wooden toys are something that looks like they will last and be an heirloom for years to come. Arrived quickly and carefully packaged. Thank you for a great purchase!
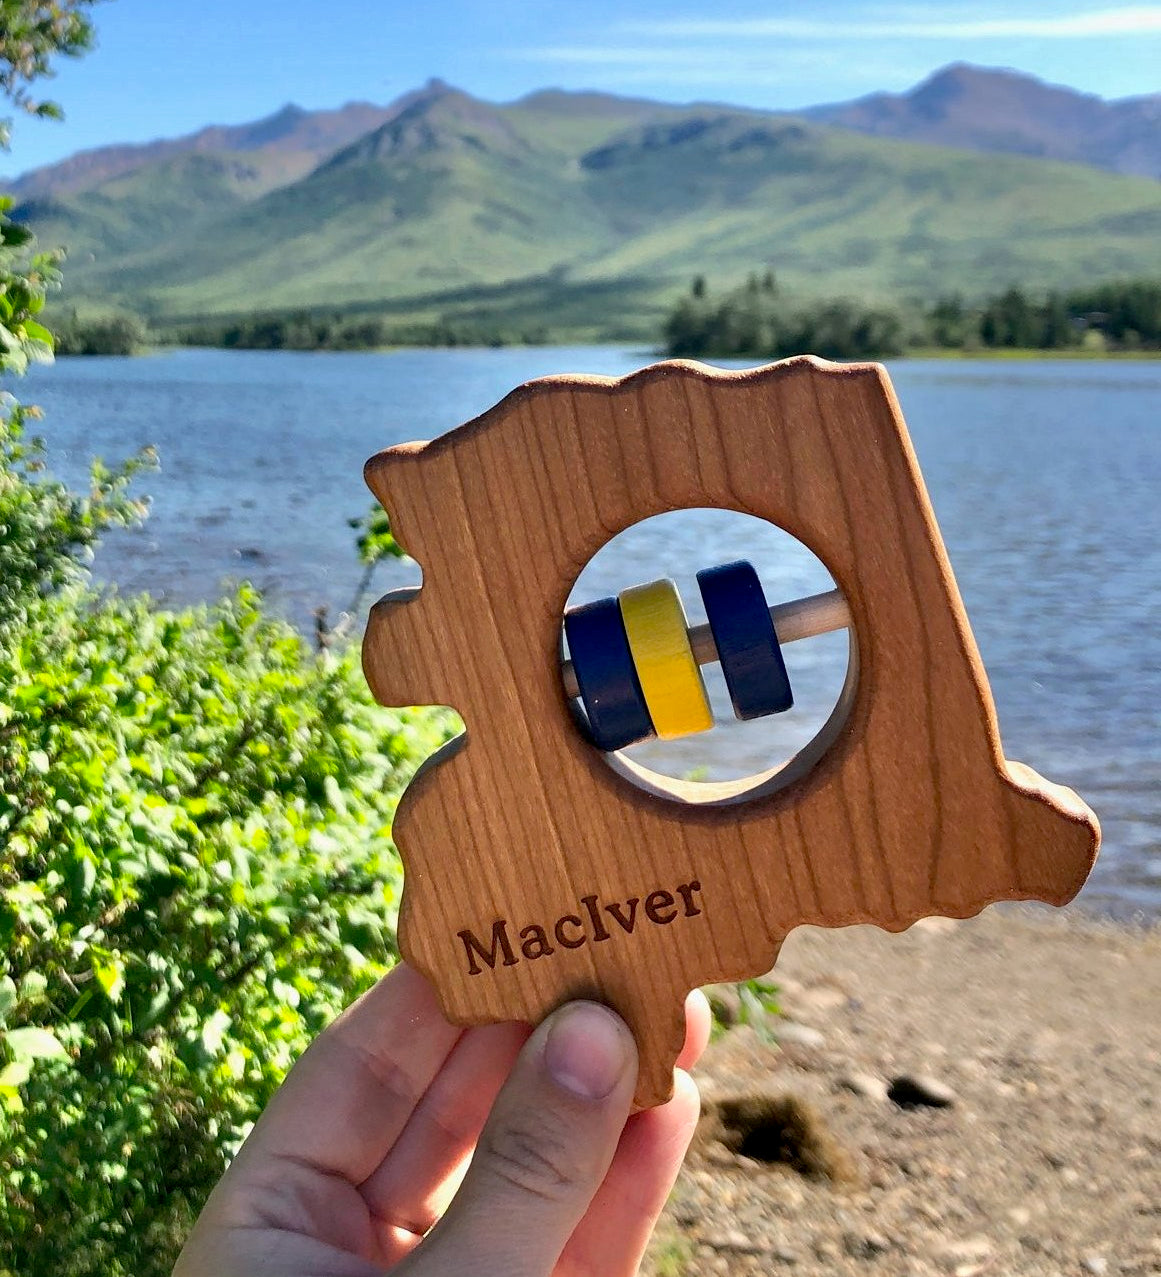
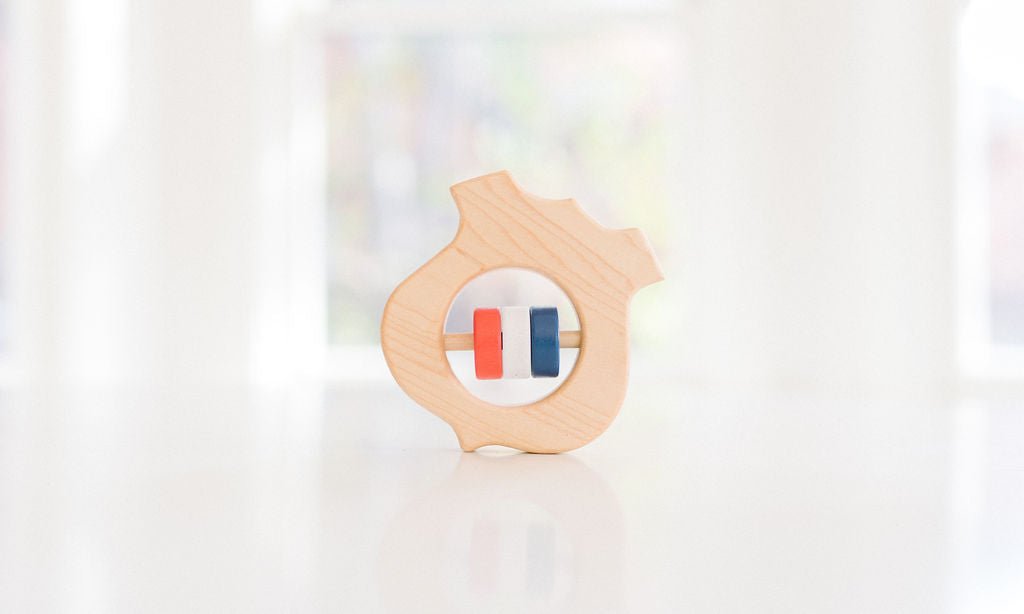
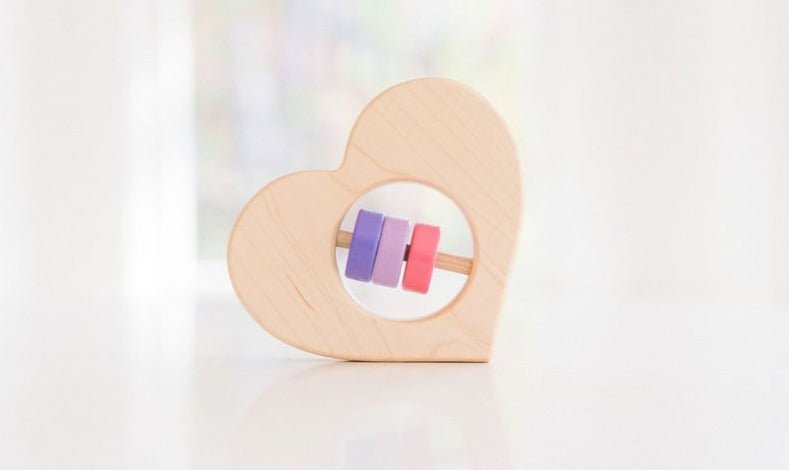
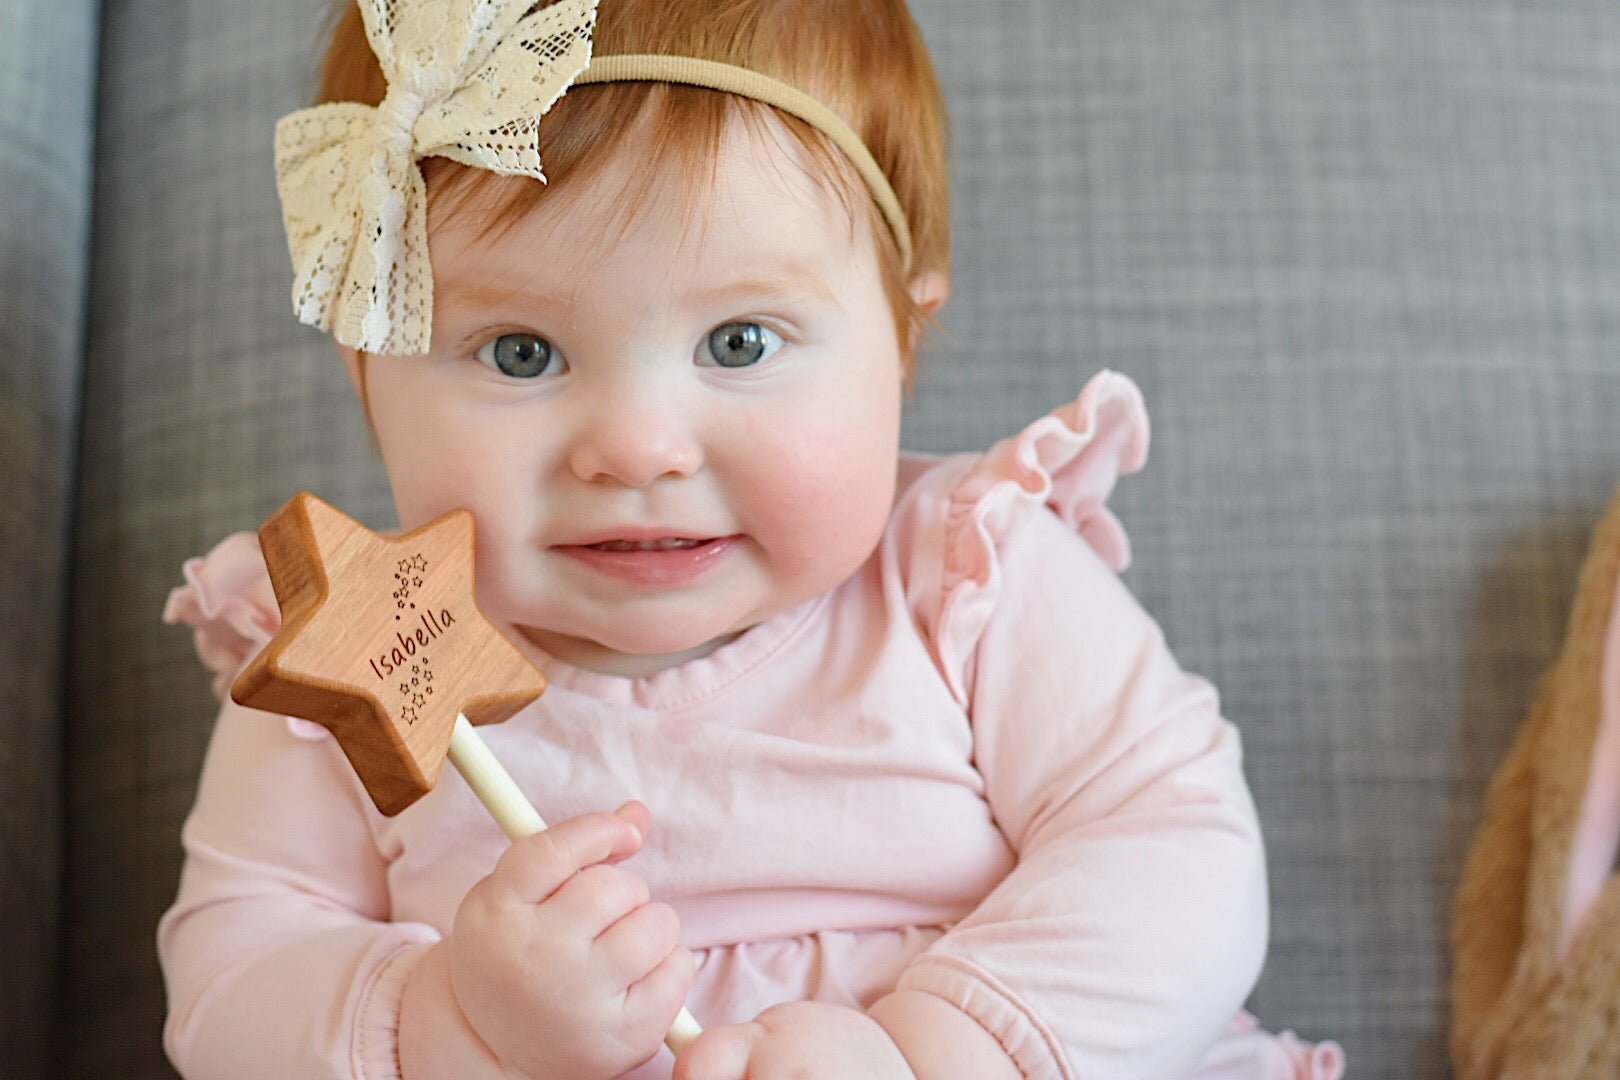
Parents were surprised and grateful for the personalized teething rings
Gave this to my daughter for her first birthday, she's almost 3 now and still loves it! It rolls really far and is still in great condition!
Reasons to love Bannor Toys
Toys You Can Trust
Crafted from natural + sustainable materials
CPSC Approved!
3rd Party Safety Tested to confirm safety
Made For Play
Toys meant to pass down for generations
Newsletter
Get In The Know
Subscribe to get special offers, free giveaways, and once-in-a-lifetime deals. ✨